
No Frills Inspired Crochet Bag + Video
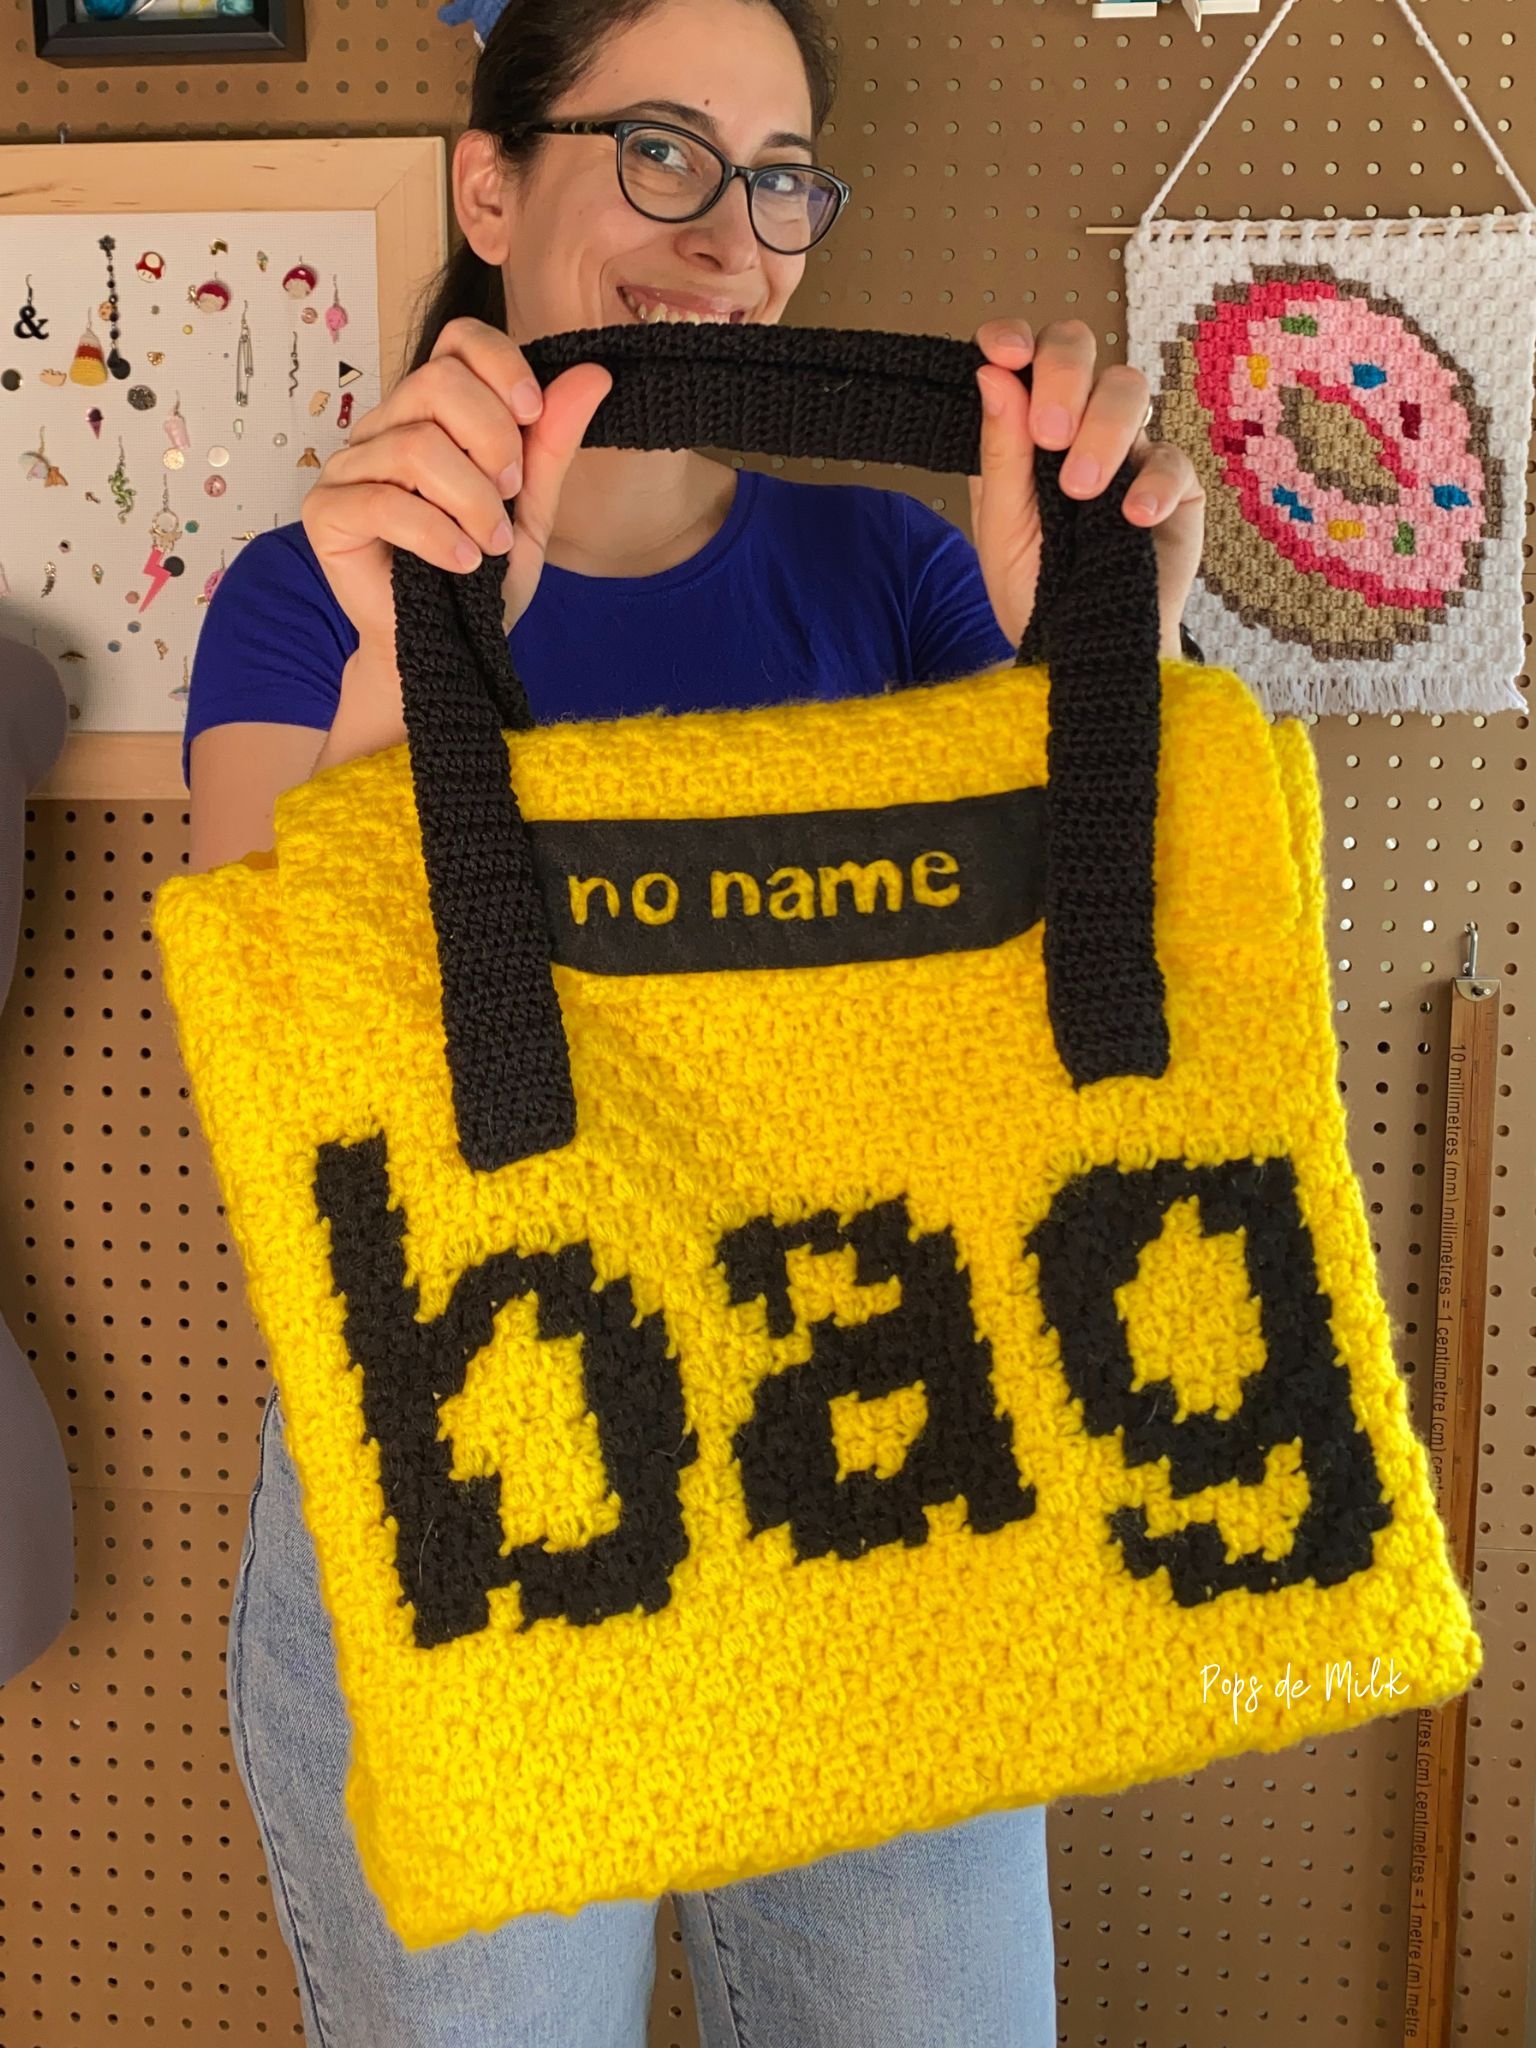
Have you ever been drawn to a food brand's design? I certainly have! The No Frills no name generic brand has a simple yet bright and happy yellow design that always catches my eye. I often prefer their "no name" products over other brands, and (aside from being a little less expensive) perhaps it's because of the color! In Canada the brand is pretty well known as the one with the most basic, no-nonsense packaging that very plainly and clearly tells the shopper what the product is. During the Christmas holidays I spotted someone carrying a very bright tube of gift wrapping paper. Upon closer inspection I realized not only was it a familiar bright yellow but the design was made up of the words “gift wrap” repeated all over. I chuckled and immediately felt inspired to create a crochet bag featuring the colors and style of the No Frills food brand. In this blog post, I'll guide you through making your own no frills crochet bag.
The Colors and Style
The No Frills food brand stands out with its vibrant yellow hue and bold black font. To recreate this look, you'll need a bright yellow yarn for the primary color and black yarn for the lettering. I used Red Heart Super Saver yarn in Bright Yellow and Black for my bag.
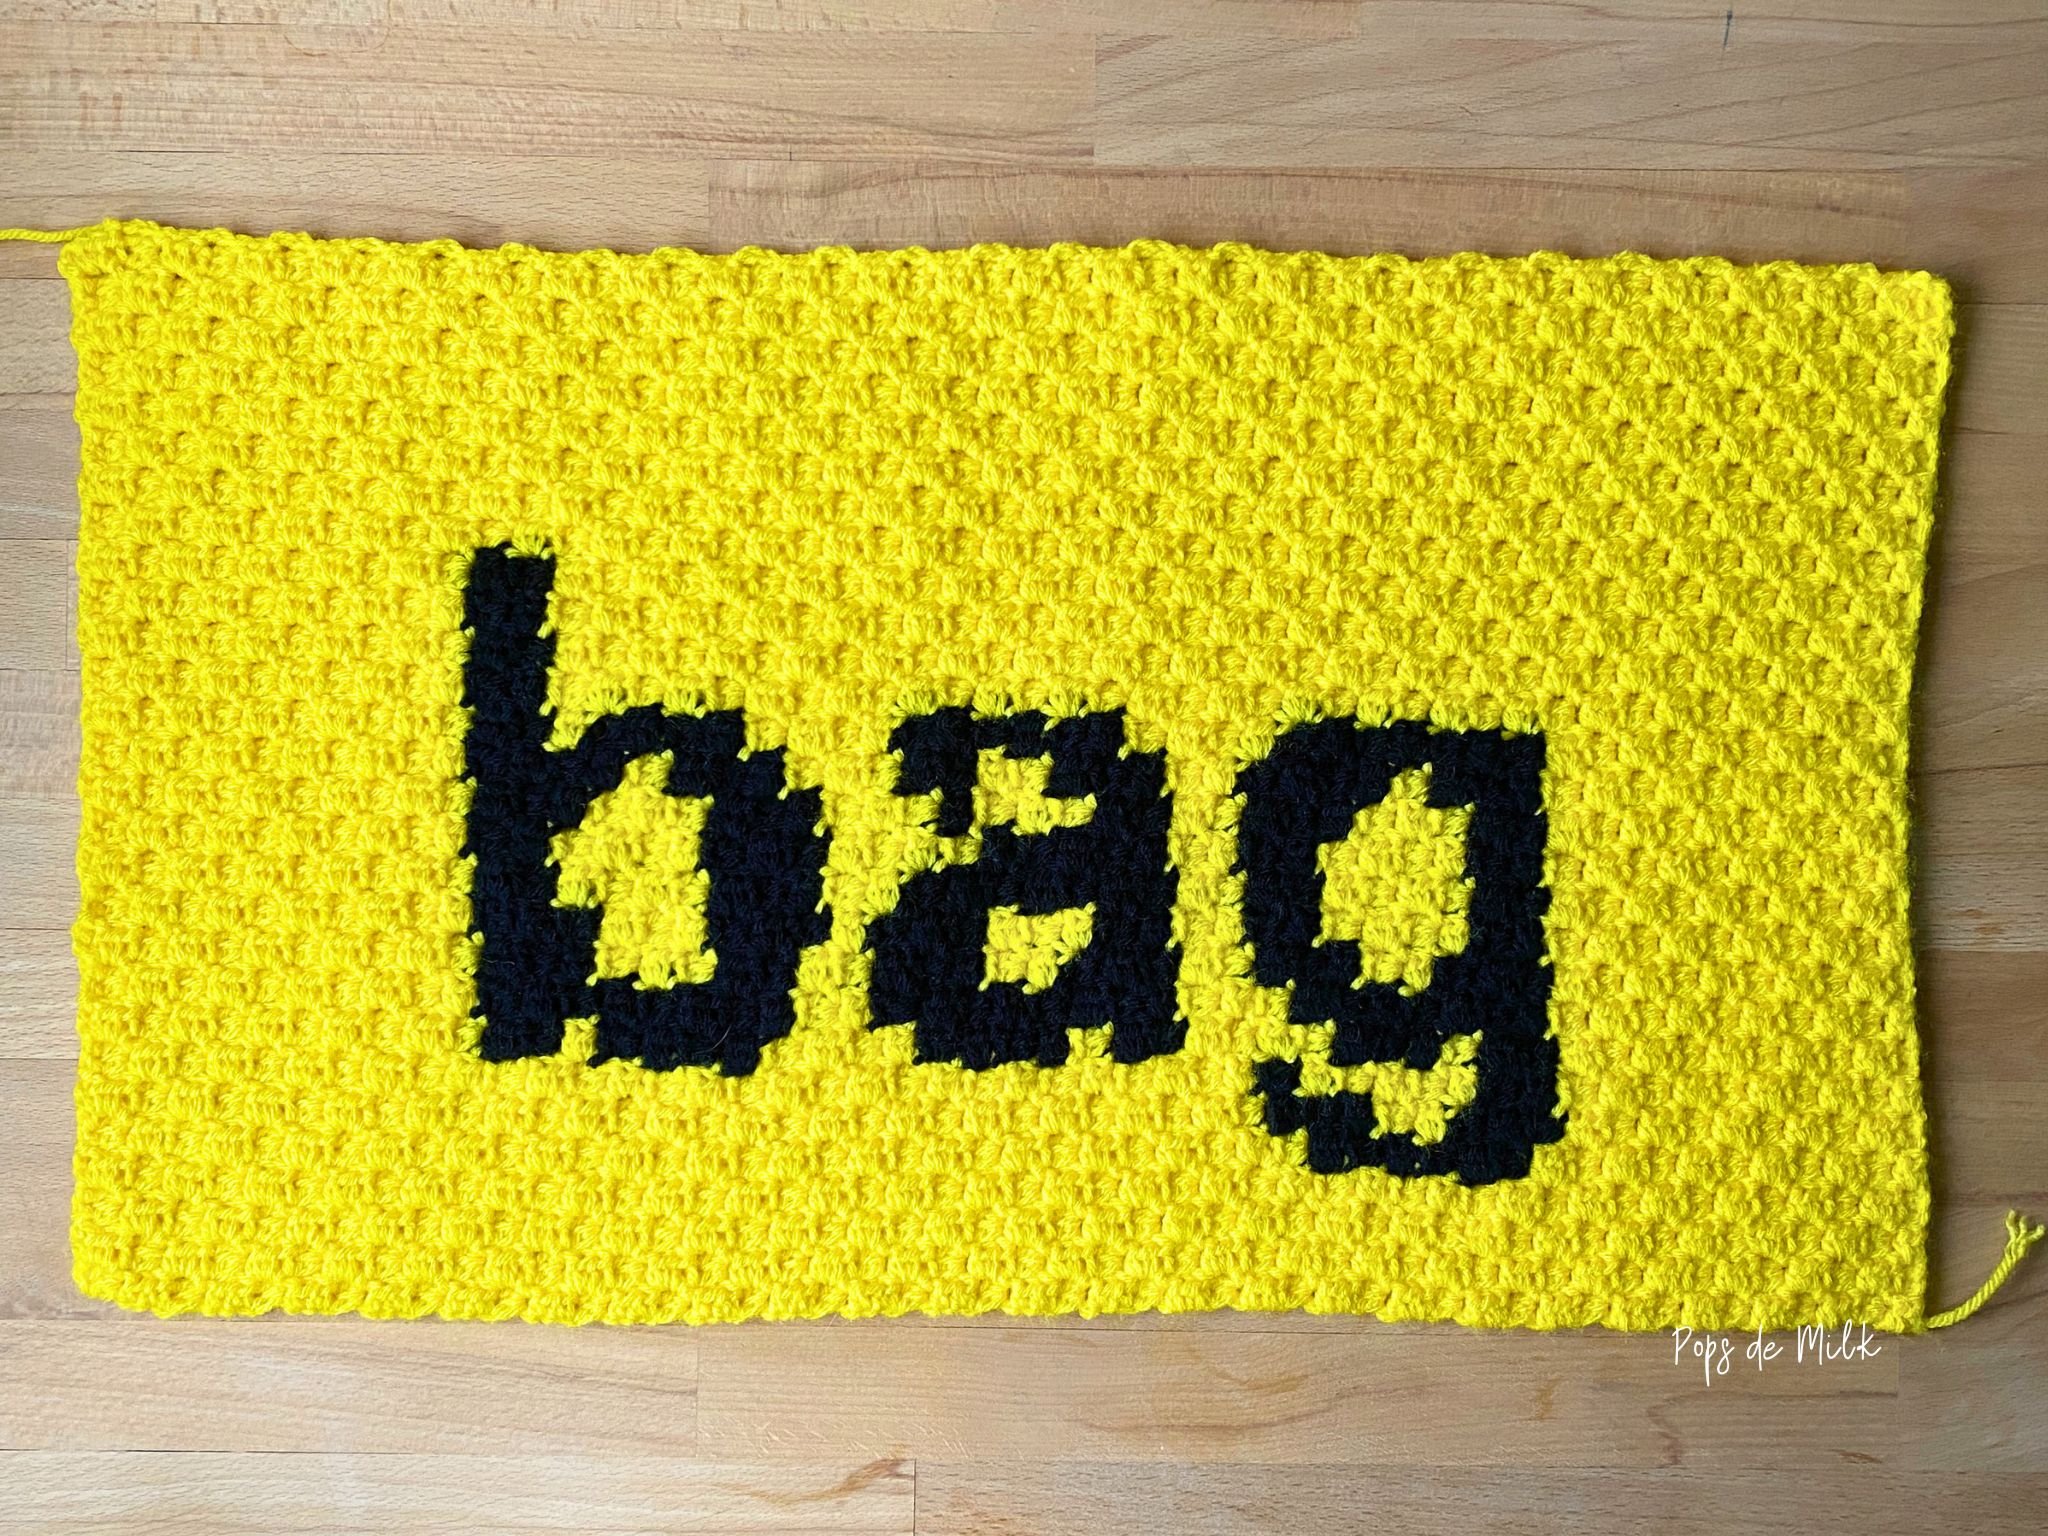
For the design, I opted for the no name logo, consisting of strong block letters spelling "no name" in lowercase. I cut out the letters from black felt and sewed them onto the bag flap. As for the main body, I went for the word "bag" in large letters and used a chart for the lettering, which you can find below. To create a denser and thicker fabric, I used half double crochet stitches instead of the typical double crochet stitches in most C2C crochet projects.

No Frills No Name Bag
Crochet Pattern
Size
Approx. 15” wide x 13” tall x 3.5” deep
Materials
Worsted weight (4) acrylic yarn, such as Red Heart Super Saver in Bright Yellow and Black
Worsted weight (4) cotton yarn, such as Lion Brand 24/7 Cotton
3.75mm and 3.00mm crochet hooks
Yarn needle
Black felt
Black thread
Sewing needle
(Optional) Fabric fusion adhesive like this one I got on Amazon
(Optional) Rope or strip of sturdy fabic for the bag straps
(Optional) Fabric liner
(Optional) Magnet closure
Abbreviations (US terms)
sts - stitches
ch - chain
ch-sp - chain space
hdc - half double crochet
dc - double crochet
sl st - slip stitch
To make this bag, you'll need to be familiar with the corner to corner (C2C) crochet technique. If you're new to it, don't worry! There are many helpful tutorials online, and I recommend checking out this sample square from Mikey at The Crochet Crowd. For this bag, you’ll be using half double crochet stitches and, instead of making 3 stitches for each square, you’ll make 2 stitches. Doing this will create a denser fabric.
The bag front and back rectangles measure approx. 21.5” x 13”
Bag Front
To make the bag front, you will need a 3.75mm hook and Red Heart Super Value yarn in bright yellow and black. Follow the chart below for color changes. I’ve included dotted lines where the side panels will go but you can adjust this to your liking.
Row 1: ch 4, hdc in 3rd ch and last ch, turn (1 square)
Row 2: ch 4, hdc in the 3rd and 4th ch, sl st into the ch-sp or the 2nd ch from the starting ch 2 from the previous row, ch 2, make 2 hdc in the chain space. (2 squares added)
Row 3: ch 4, hdc in the 3rd and 4th ch, sl st into the ch-sp or the 2nd ch from the starting ch 2 from the previous row, ch 2, make 2 hdc in the 2-ch sp, repeat to the end of row.
Repeat Row 3 until you reach your desired width. In my case I increased until the rectangle measured 21.5”. Then it’s time to decrease:
When starting to decrease, do not ch 4, instead sl st in the first 2 sts, next sl st into the ch-sp or the 2nd ch from the starting ch 2 from the previous row, ch 2, make 2 hdc in the 2-ch sp, continue as usual to the end of the row, sl st into the last 2-ch sp and leave the last square unworked. Continue to decrease until you have a completed rectangle. Cut the yarn and weave in the ends.

Bag Back
For the back, follow the same instructions as the front except it will be a solid yellow color without color changes.
Bag Straps
To make the bag straps, you will need a 3.00mm hook and 24/7 cotton in black.
Row 1: ch 15, hdc in 2nd ch from hook and remaining chs across, turn
Row 2: ch 1 (does not count as st), hdc in each st across (14 sts)
Rows 3-86: Repeat Row 2 or until the strap is to desired length. My strap ended up being 25 3/4" long and 3" wide. Leave a long tail of yarn for sewing to the bag later.
I folded the straps in half lengthwise and sewed the seams together to form long tubes. To make the straps sturdy, I cut out long fabric strips from a pair of old pants and fed them through the tubes.
Logo
For the logo I used black felt and a small pair of sharp scissors to cut out the letters. I drew the letters by hand on paper so I could use that to trace them onto the felt.
Assembling the Bag
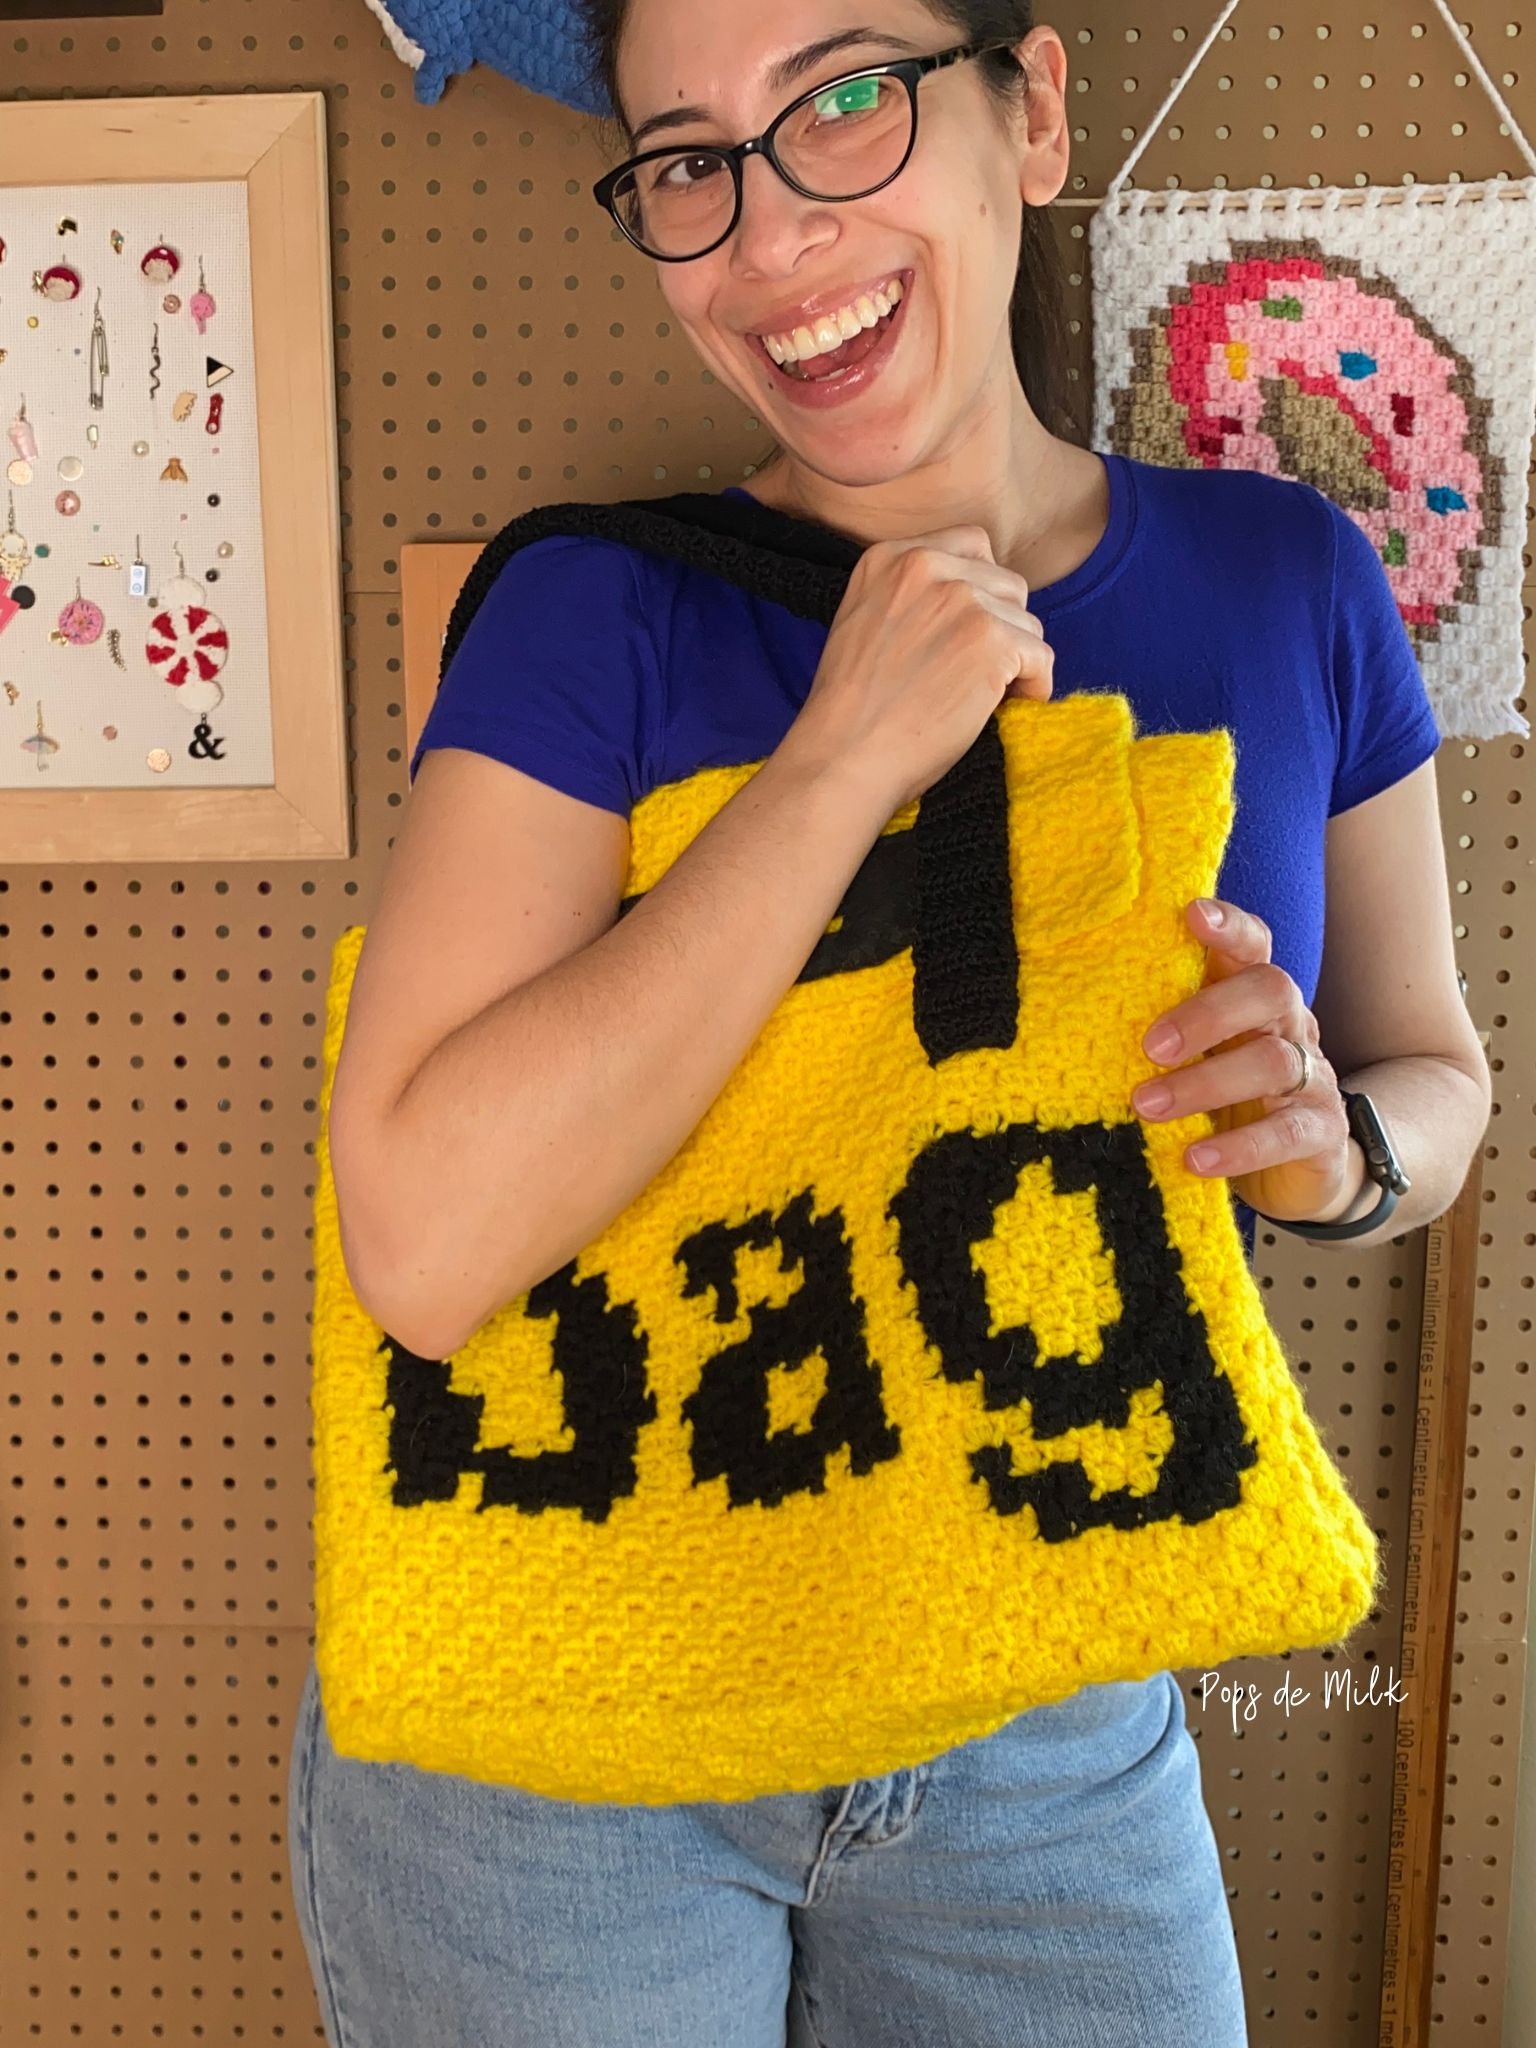
Align the two rectangles so that you have the front laying horizontally and you have the back laying vertically. The front rectangle makes up the front of the bag and both side panels while the back rectangle makes up the bottom, the back, and the top flap of the bag.
With the wrong sides of the bag front and back facing each other, use yellow yarn and a yarn needle to sew the sides and bottom of the bag together. For my bag, I made the bottom and the side panels about 3” wide. I used stitch markers to hold the rectangles in place while I sewed them together. This step is optional but I added some detail to all the edges. Here’s what I did: with yellow yarn and a yarn needle I whip stitched along the seams, I then folded the bag front where the side panels start (see the dotted lines in the chart above) and sewed along the fold. I turned the bag inside out and created a crease in the middle of the bottom of the bag and in the middle of both side panels and whip stitched that crease. This gave the bag a little more definition on the edges, kinda like a brown paper bag.
Attach the bag straps to the bag front and back using black yarn and a yarn needle. You can also use regular thread and a sewing needle as well.
Sew the logo to the bag flap.
Your bag could be done at this point or you can add a fabric liner if you like. You can also add some kind of closure to the flap like a snap or a magnet. I used 2 magnets for my flap closure. To do this, I cut out two square pieces of fabric, larger than the magnets I used. I sewed the little fabric squares with the magnets into the underside of the flap and the inside front of the bag, making sure they aligned. NOW the bag was done!


The No Frills food brand may have inspired me to create this crochet bag, but the possibilities are endless when it comes to finding inspiration for your own projects. Whether it's a favorite color scheme, a pattern you love, or a unique design, let your creativity run wild and see where it takes you! Happy crocheting!
If you make this crochet C2C bag I'd love to see your creation, just tag me on Instagram @popsdemilk_crochet and use the hashtag #popsdemilk
Looking for more crochet bag patterns? Then you might like these:
**********
This pattern is for personal use only. The pattern and its photos may not be reproduced, distributed or resold, translated, published, altered, shared or posted in any way over the internet or offline.
You may sell finished items made from this pattern as long as it is handmade by you, not mass produced, giving the credit to Pops de Milk / Patricia Castillo as the designer. If you have any questions, you can email me at patricia@popsdemilk.com
This post contains affiliate links.