
Find your next project with easy crochet patterns, stitch tutorials, and design ideas.
Latest Blog Posts
Featured


Sign up for my newsletter!
Get updates on free crochet patterns, tutorials, and blog news delivered straight to your inbox.
Shop Crochet Patterns
Featured
Quick View
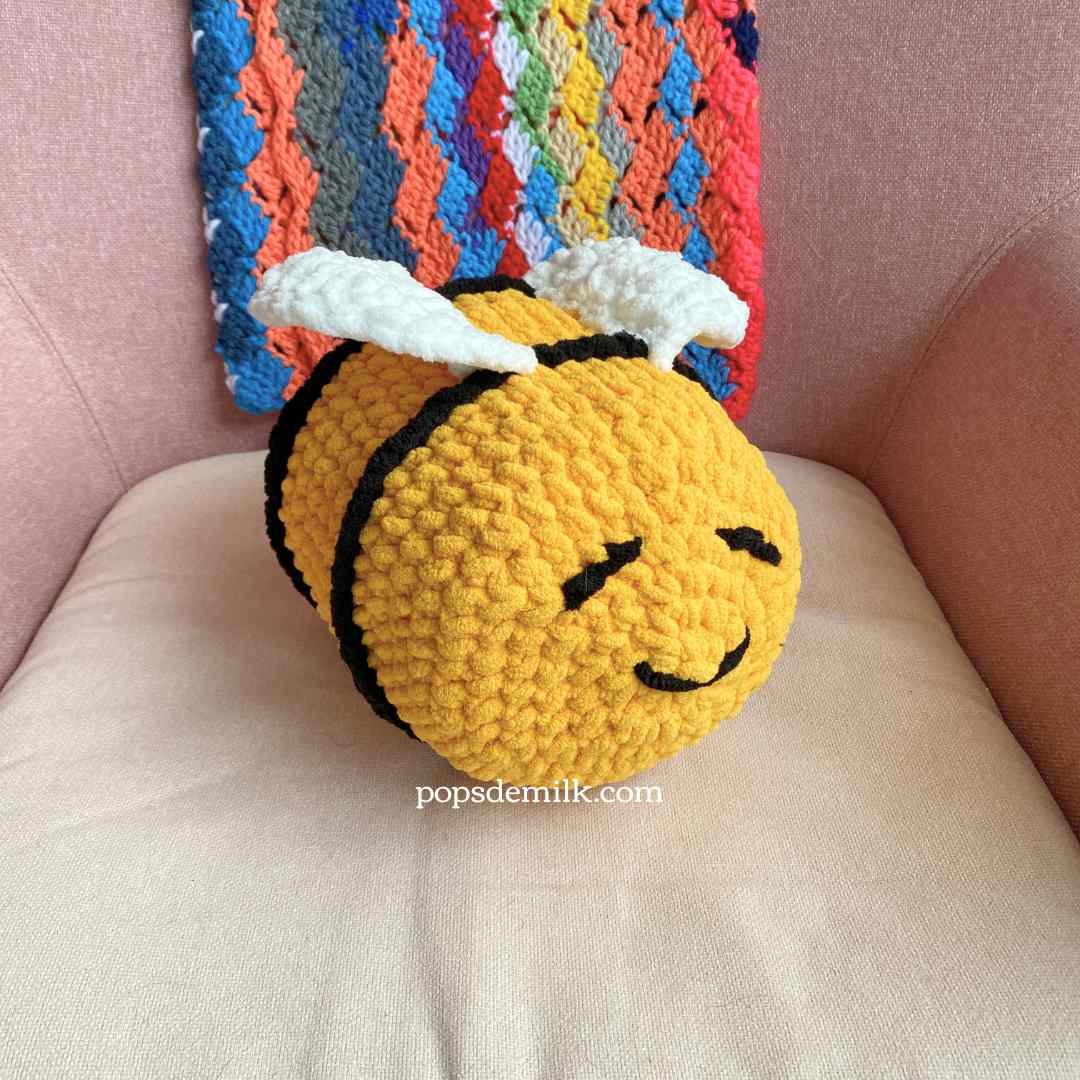
PATTERN: Crochet Bee Amigurumi Pattern
$5.00
Quick View

Quick View
Quick View