Patricia Castillo 2024-04-23 Patricia Castillo 2024-04-23 Super Easy Crochet Top - Almost No-Sew Top Read More Patricia Castillo 2024-03-12 Patricia Castillo 2024-03-12 Scrap Yarn Beanie Crochet Pattern Read More Patricia Castillo 2024-02-21 Patricia Castillo 2024-02-21 My easy crochet granny square vest Read More Patricia Castillo 2024-02-13 Patricia Castillo 2024-02-13 How to Crochet a Traditional Granny Square Read More Patricia Castillo 2024-02-06 Patricia Castillo 2024-02-06 ChatGPT Crochet Teddy Bear Read More Patricia Castillo 2024-01-09 Patricia Castillo 2024-01-09 Turning Your Hobby into a Successful Career: A Comprehensive Guide Read More Patricia Castillo 2023-12-20 Patricia Castillo 2023-12-20 Crochet Leg Lamp Wall Hanging Read More Patricia Castillo 2023-12-12 Patricia Castillo 2023-12-12 Gingerbread House Bag Read More Patricia Castillo 2023-11-21 Patricia Castillo 2023-11-21 Amigurumi Peg Board Read More Patricia Castillo 2023-11-07 Patricia Castillo 2023-11-07 Briar Rose Dress or Skirt Set Read More Older Posts
Patricia Castillo 2024-04-23 Patricia Castillo 2024-04-23 Super Easy Crochet Top - Almost No-Sew Top Read More
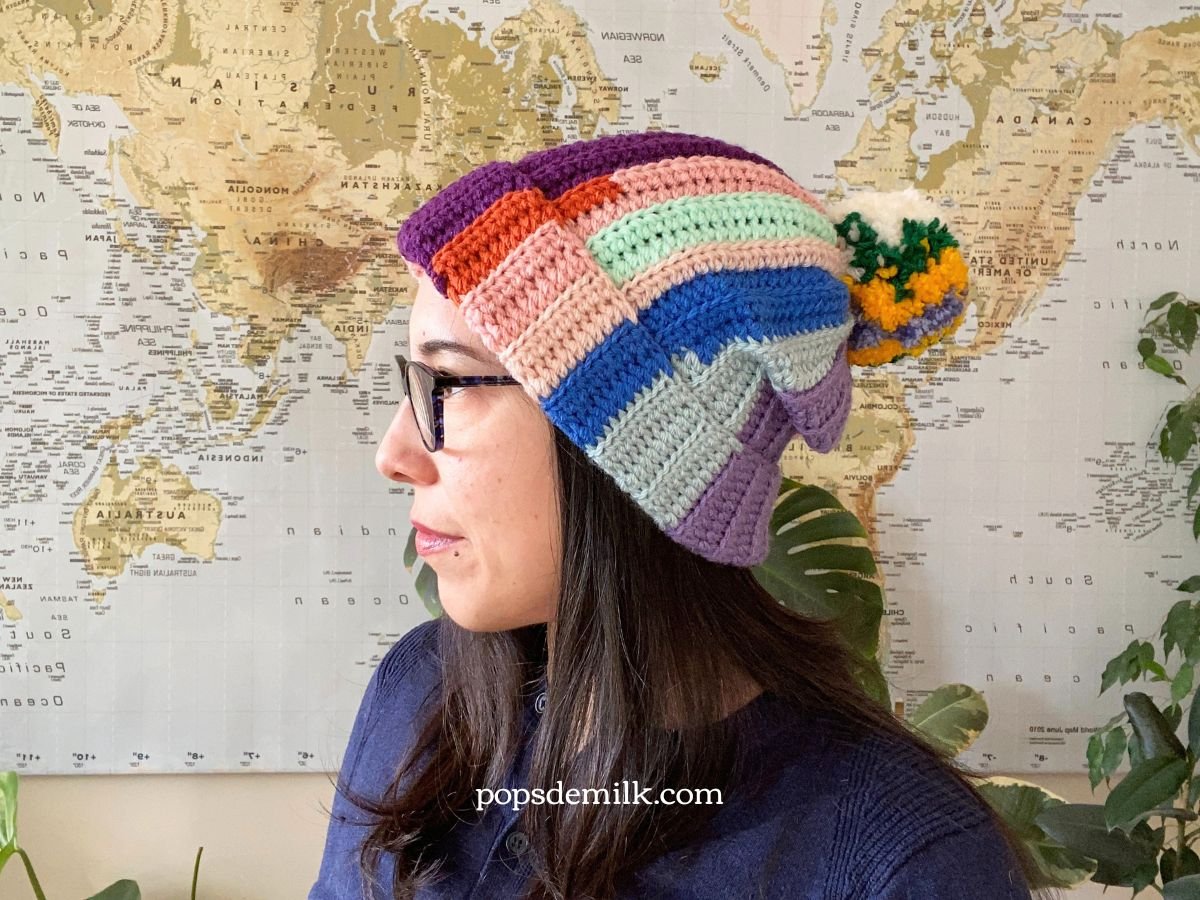
Patricia Castillo 2024-03-12 Patricia Castillo 2024-03-12 Scrap Yarn Beanie Crochet Pattern Read More
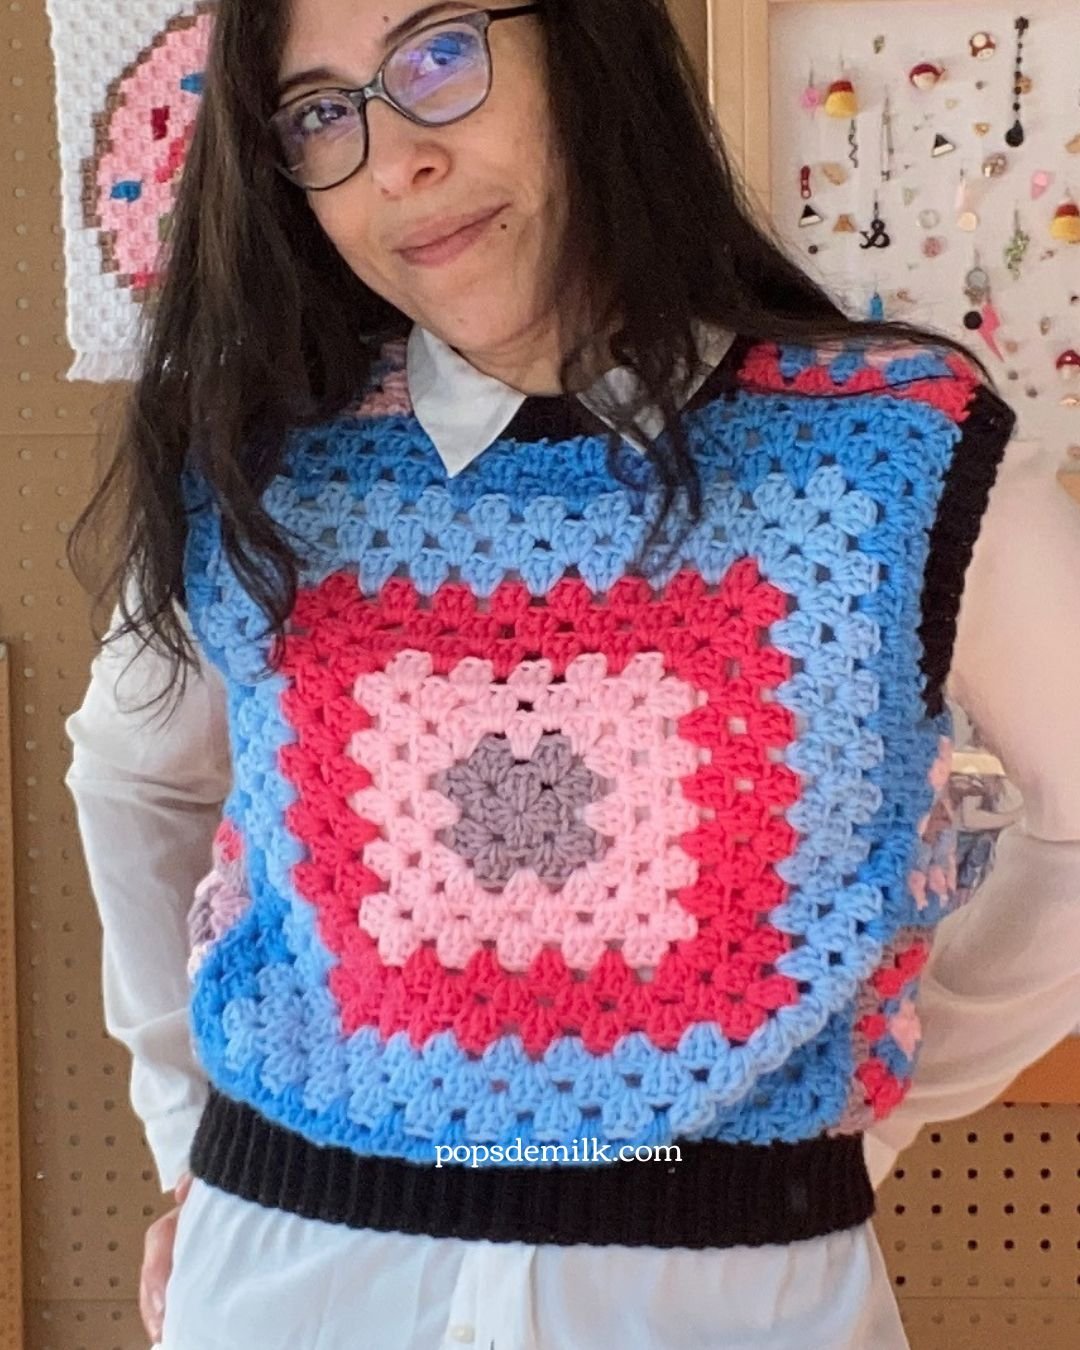
Patricia Castillo 2024-02-21 Patricia Castillo 2024-02-21 My easy crochet granny square vest Read More
Patricia Castillo 2024-02-13 Patricia Castillo 2024-02-13 How to Crochet a Traditional Granny Square Read More
Patricia Castillo 2024-01-09 Patricia Castillo 2024-01-09 Turning Your Hobby into a Successful Career: A Comprehensive Guide Read More