
Tiny Rabbit Amigurumi Crochet Pattern
Jason and I have been going on walks a lot more lately. The warmer weather and the sunshine is enough to draw these two home bodies out of hibernation. Despite the construction and traffic, I still feel the freshness of the season and the excitement that in just one more week my little sister will be arriving from her long trip to Japan. These things combined - oh, and Easter too - inspired me to make this adorable Tiny Rabbit Amigurumi Crochet Pattern!

Tiny Rabbit Amigurumi Crochet Pattern
Just as I finished sewing the head and body together Jason walked in the room and saw the bunny. Usually when he sees a project I've finished he'll say, "That's so cute," or, "That's so awesome," and then proceed to do a few karate moves with it before giving it back. But because the yarn needle was still attached to the rabbit, he finished his action scene with this:
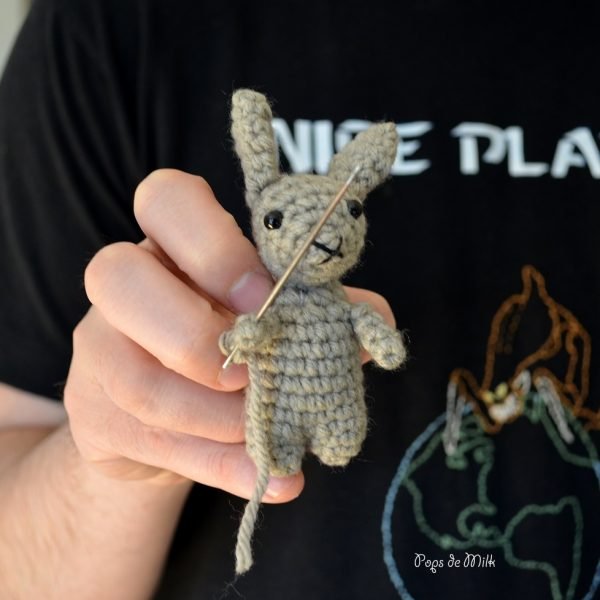
Of course now I can't picture the bunny as a cute spring creature, instead he is now a warrior bunny! (Good thing I've got extra needles...)
Protecting my yarn stash. "You shall not pass!"
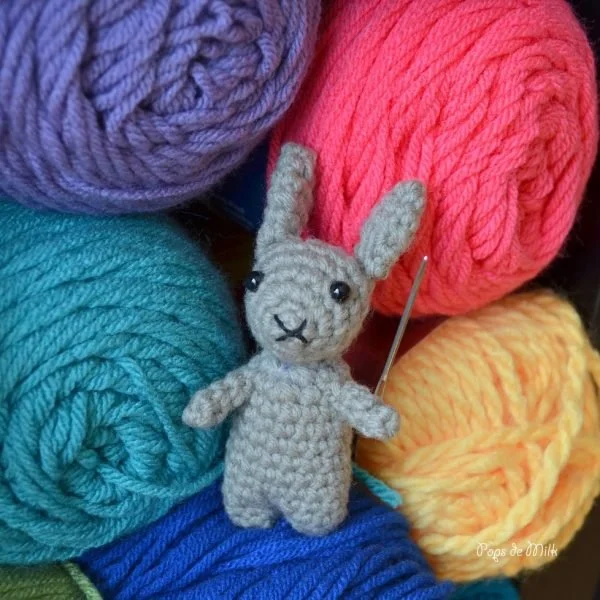
Tiny Rabbit Amigurumi Crochet Pattern
Materials:
-Worsted weight (4) yarn – I’m using Bernat Super Value in Clay and Natural
-Size 3.00mm and 3.50mm hooks
-Fibrefill for stuffing
-Safety eyes, 6mm
-Black embroidery thread and needle
-Tapestry needle for joining parts
-(Optional) Extra tapestry needle
Notes: Unless otherwise stated, this pattern is worked in continuous rounds using stitch markers to locate the beginning/end of a round. Work in somewhat tight stitches. All colour changes start in the stitch of the previous round.
Stitch Guide
Ch – chain
Sc – single crochet
Inc – increase
Dec - decrease
Head
Using 3.50mm hook and Clay
Round 1: start 3 sc in magic ring.
Or
Ch 2 and 3 sc in second ch from hook.
Round 2: inc in each st (6 sts)
Round 3: inc in each st (12 sts)
Round 4: sc in each st (12 sts)
Round 5: [sc in next 2 sts, inc in next st] repeat 4 times (16 sts)
Attach safety eyes and begin to stuff with fibrefill
Round 6: [sc in next 2 sts, dec] repeat 4 times (12 sts)
Round 7: sc in eac st (12 sts)
Round 8: dec 6 times (6 sts)
Continue to dec and stuff. Fasten off and weave in ends.
Ears – Make 2
Using 3.50mm hook and Clay
Round 1: start 4 sc in magic ring.
Or
Ch 2 and 4 sc in second ch from hook.
Round 2: [sc in next st, inc] repeat two times (6 sts)
Round 3: [sc in next st, inc] repeat three times (9 sts)
Round 4: [sc in next st, dec] repeat three times (6 sts)
Round 5: sc in each st (6 sts)
Round 6: [sc in next st, dec] repeat three times ( 4 sts)
Fasten off and leave tail for sewing.
Legs/Body
Using 3.00mm hook and Clay, starting with legs
Round 1: start 4 sc in magic ring.
Or
Ch 2 and 4 sc in second ch from hook.
Round 2: inc in each st (8 sts)
Round 3: sc in each st (8 sts)
Fasten off. Make second leg but DO NOT fasten off. Pull loop of current leg into next stitch of fastened off leg.
Round 4: Continue to sc in next st of current leg and in each sc around (8 sts). Continue onto second leg (8 sts) (16 sts total)
Switch to 3.50mm hook
Rounds 5-11: sc in each st (16 sts)
Begin stuffing with fibrefill
Round 12: sc in next st, dec, [sc in next 2 sts, dec] repeat three times, sc in last st (12 sts)
Round 13: dec 6 times (6 sts)
Continue to dec and stuff. Fasten off and leave tail for sewing.
Arms – Make 2
Using 3.00mm hook and Clay
Round 1: start 4 sc in magic ring.
Or
Ch 2 and 4 sc in second ch from hook.
Rounds 2-4: sc in each st (4 sts)
Fasten off and leave tail for sewing.
Tail
Using 3.00mm hook and Natural
Start 4 sc in magic ring.
Or
Ch 2 and 4 sc in second ch from hook.
Fasten off and leave tail for sewing. With needle, make a few stitches to bring the opening together like a purse drawstring. Sew to body.
Optional: If you have an extra yarn needle, sew it to a hand for instant Warrior Bunny!

Tiny Rabbit Amigurumi Crochet Pattern

If you make this tiny rabbit amigurumi I'd love to see your creation, just tag me on Instagram @popsdemilk_crochet and use the hashtag #popsdemilk
Looking for more crochet animal patterns? Then you might like these:
**********
This pattern is for personal use only. The pattern and its photos may not be reproduced, distributed or resold, translated, published, altered, shared or posted in any way over the internet or offline.
You may sell finished items made from this pattern as long as it is handmade by you, not mass produced, giving the credit to Pops de Milk / Patricia Castillo as the designer. If you have any questions, you can email me at patricia@popsdemilk.com