
Watermelon Earrings Crochet Pattern + Video
Introducing the cutest summer accessory: Crochet Watermelon Earrings! These sweet little watermelon slices are not only fun to make but also add a playful touch to your outfit. With their lightweight design, they're perfect for any summer gathering or just a sunny day out.
Watermelon Crochet Earrings Pattern
These crochet watermelon earrings are super quick to make and you can have them ready in less than an hour. I used lace-weight crochet thread but you can experiment with other weights of yarn like super fine and fingering weight or make them even tinier by using finer crochet thread.
To start, crochet four watermelon slices using the provided pattern instructions below. Feel free to experiment with different colors or even try mini watermelons in various shades!
Materials
Lace weight (0) crochet thread such as, Aunt Lydia’s Classic 10 in:
Cardinal Red
Natural
Myrtle Green
Black
1.50mm crochet hook
Embroidery needle
Earring hooks and split rings (I got a jewelry-making kit from Amazon that included these)
(Optional) Small amount of foam or felt sheets
Abbreviations (US Terminology)
ch - chain
st(s) - stitch(es)
sc - single crochet
Pattern Notes
Starting chain does not count as a stitch.
Watermelon Slices - make 4 slices
Starting with Red
Row 1: in magic ring make 3 sc, turn
Row 2: ch 1, 2 sc in the first st and in each st across, turn (6 sts)
Row 3: ch 1, [2 sc in the first st, 1 sc in the next st] repeat across, turn (9 sts)
Row 4: ch 1, [2 sc in the first st, 1 sc in the next 2 sts] repeat across, turn (12 sts)
Row 5: ch 1, [2 sc in the first st, 1 sc in the next 3 sts] repeat across, turn (15 sts)
Row 6: ch 1, [2 sc in the first st, 1 sc in the next 4 sts] repeat across, switch to Natural turn (18 sts) Cut Red thread.
Row 7: ch 1, [2 sc in the first st, 1 sc in the next 5 sts] repeat across, switch to Green turn (21 sts) Cut Natural thread.
Row 8: ch 1, [2 sc in the first st, 1 sc in the next 6 sts] repeat across (24 sts) Cut Green thread leaving a long tail for sewing.
Repeat the steps above until you have 4 watermelon slices.
Watermelon Seeds
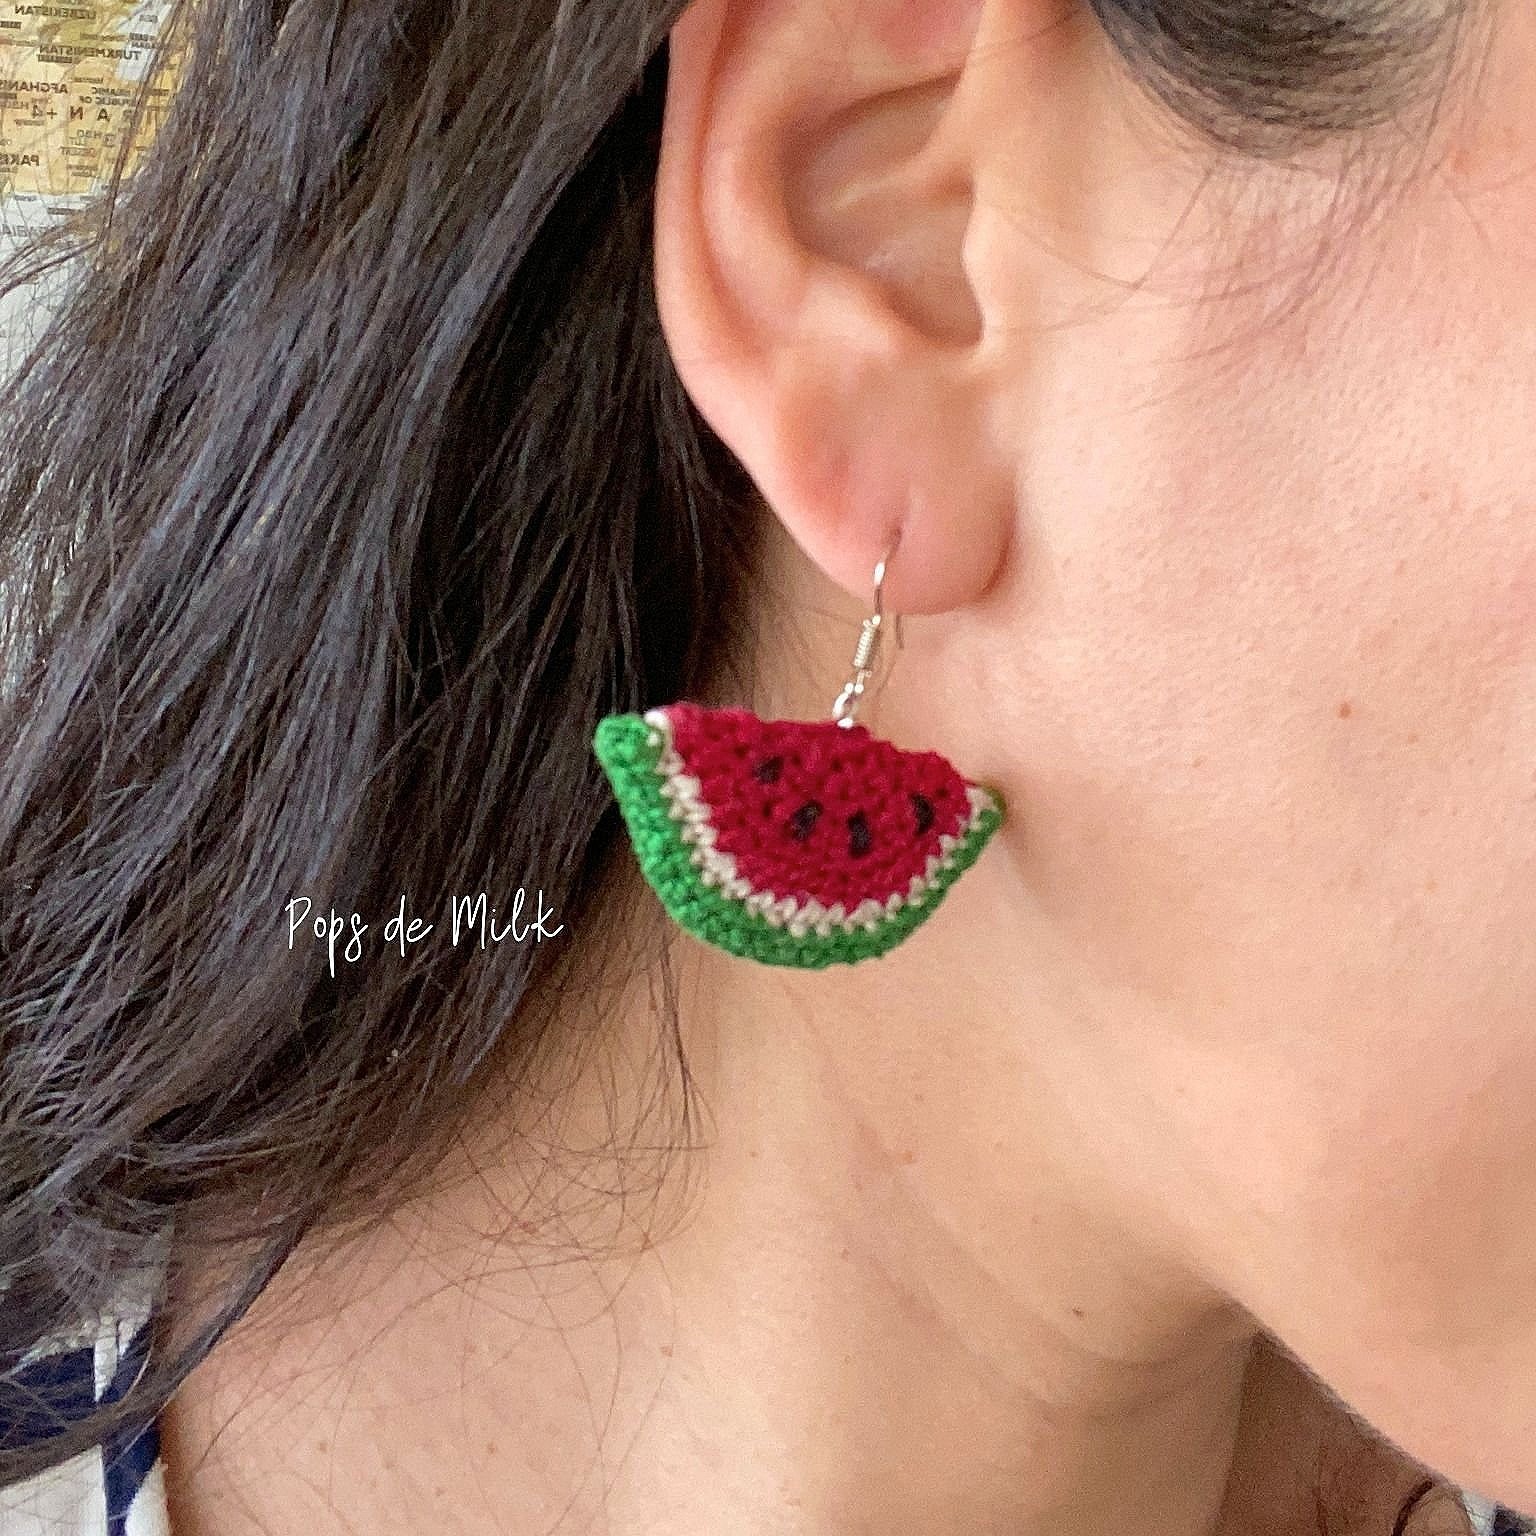
Give your watermelons that classic touch by adding seeds with black embroidery thread. Simply embroider seeds on the outside of both watermelon pieces for a realistic and scrumptious look.

How to Assemble the Earrings
Once you have your watermelon slices, it's time to assemble the earrings. You can add an optional foam cutout between two watermelon pieces to help the earrings hold their shape better. Felt or plastic canvas are also great lightweight alternatives. Use a pair of scissors and cut the foam piece to fit the size of your watermelon slices.
Using an embroidery needle and green thread and holding the wrong sides facing each other, sew along the green stitches of the watermelon slices first. This creates a little sleeve for the foam cutout. Then, insert the foam cutout, if using, and finish sewing the two slices together. Switch to red thread when you’re sewing along the red portion of the watermelon. Repeat this with the other 2 slices.
Next, it's time to add the earring hooks. Using a pair of small pliers, open the split rings and hook them into the top red side of the watermelon slice, then slip the earring hook in and close the split ring. You can play around with the placement of the earring hooks, maybe on a corner or on the rind/green side, it’s up to you.
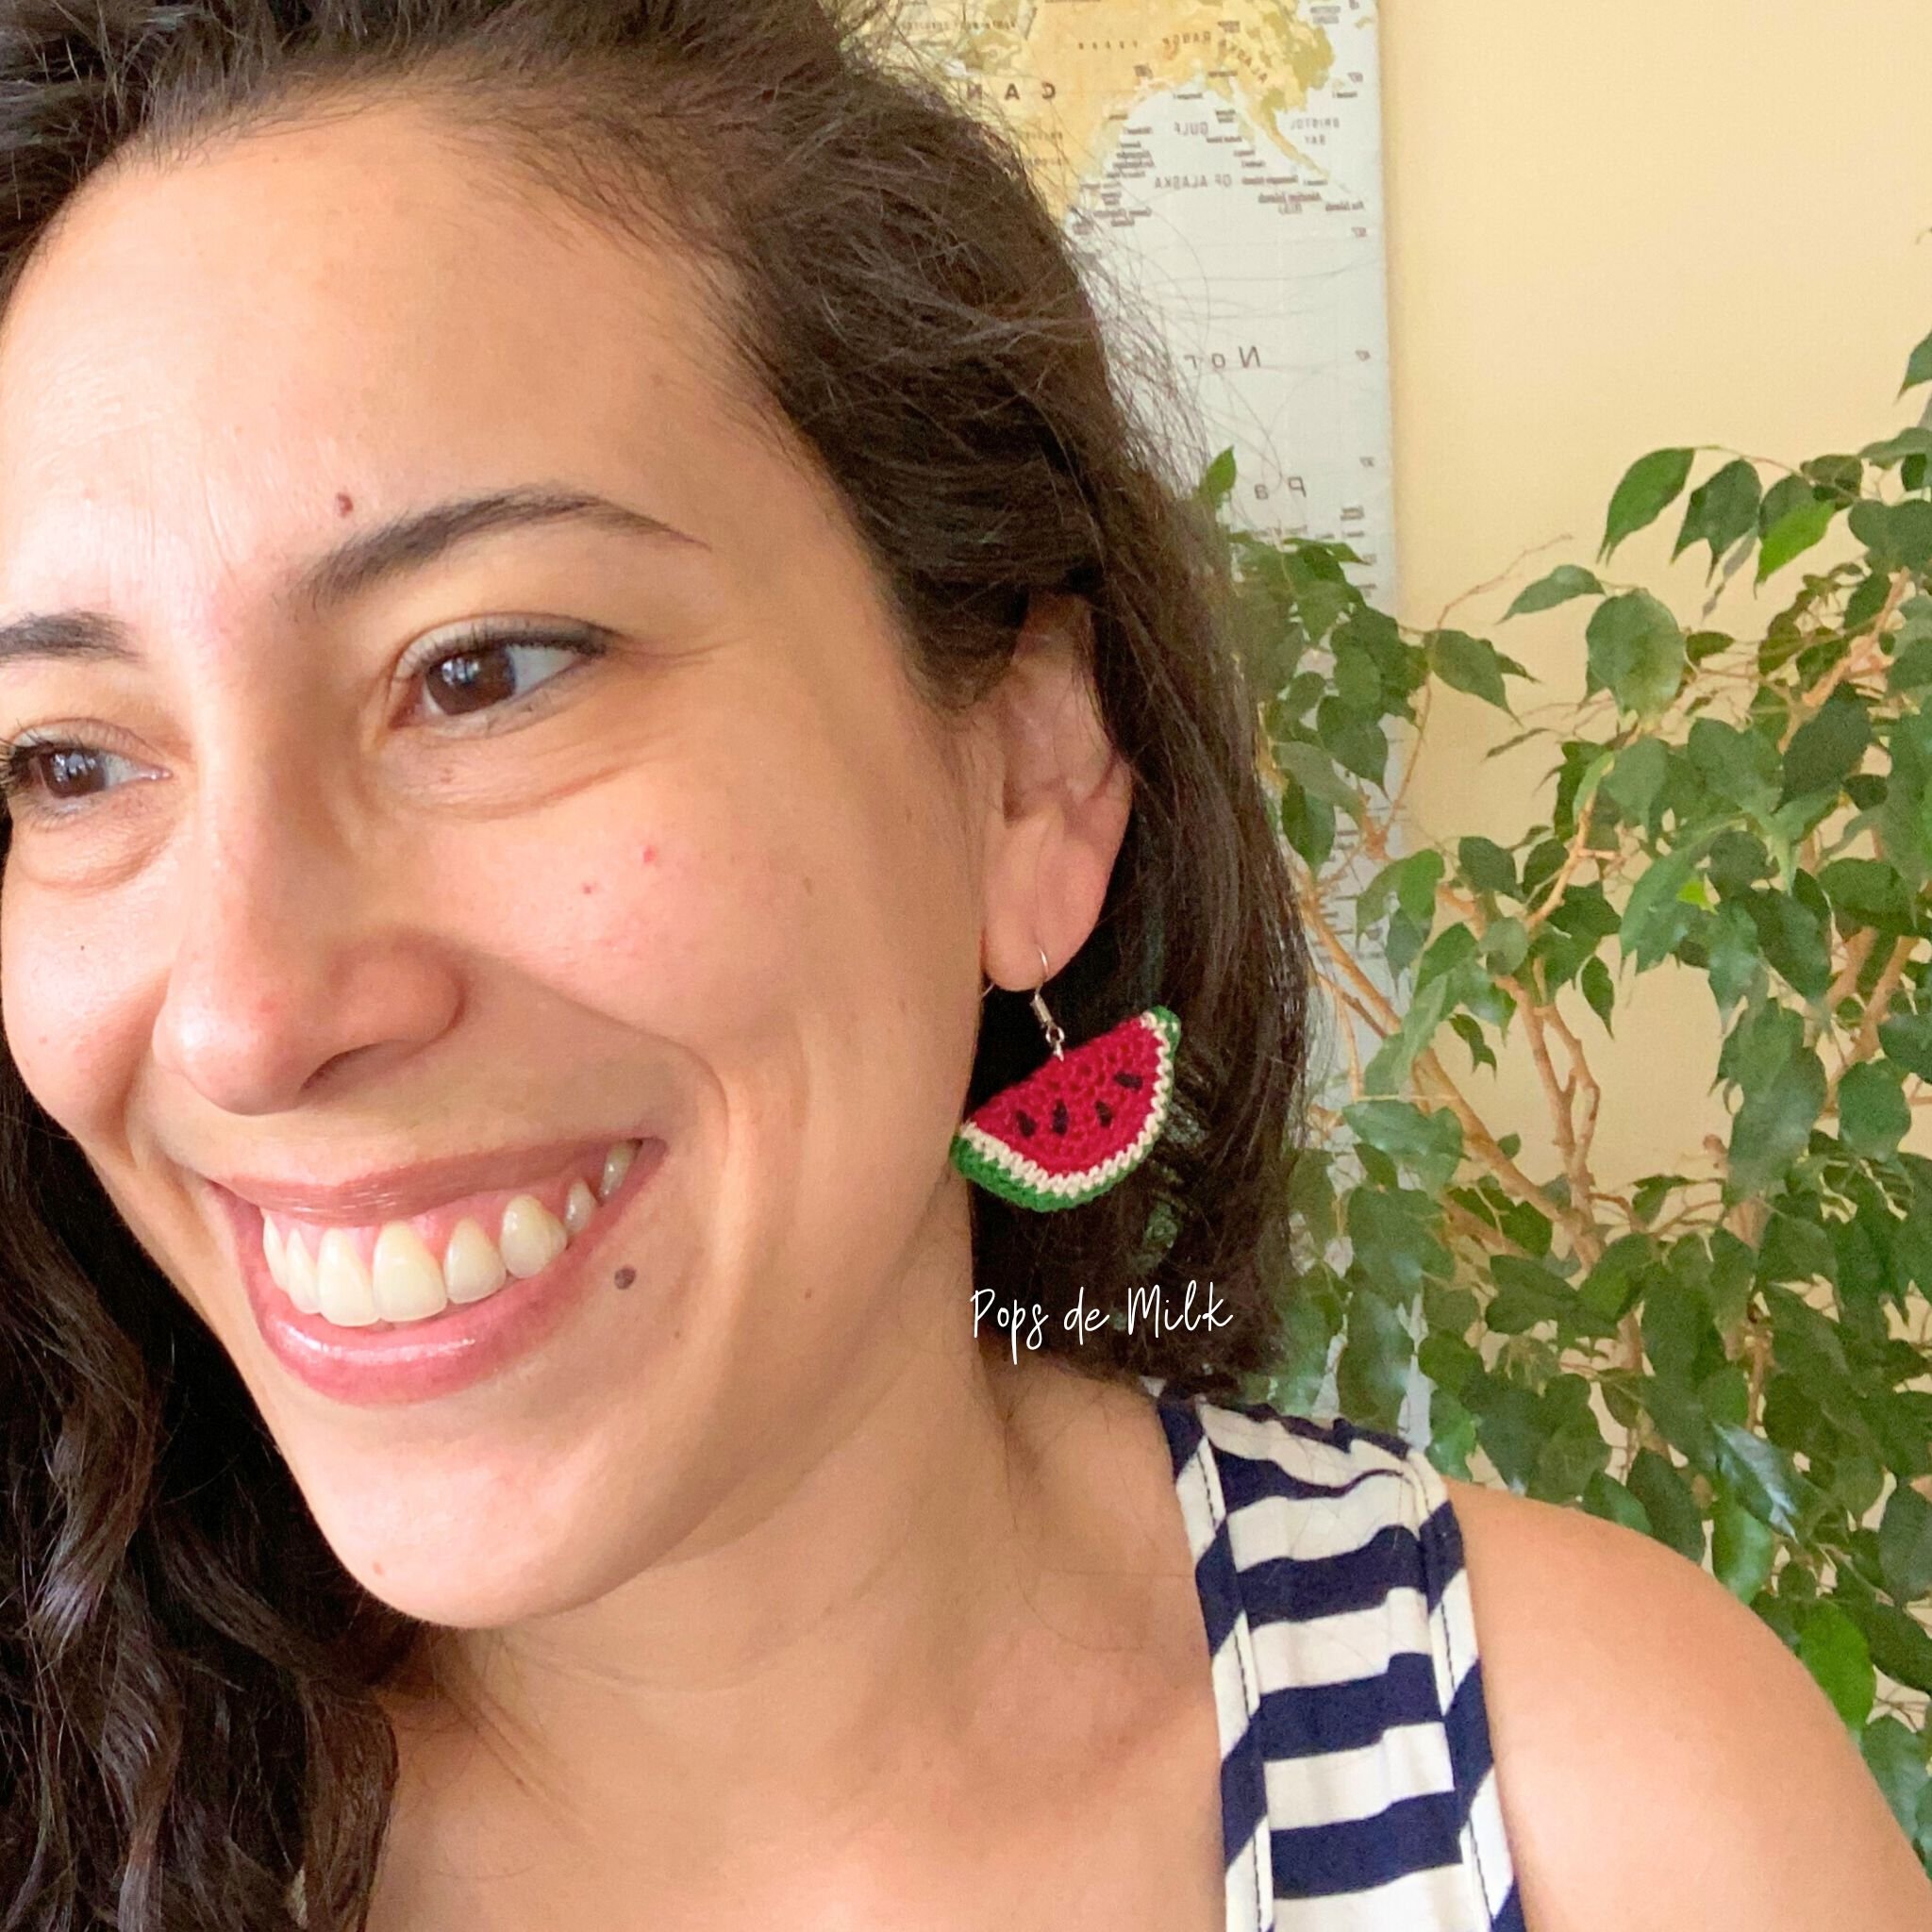
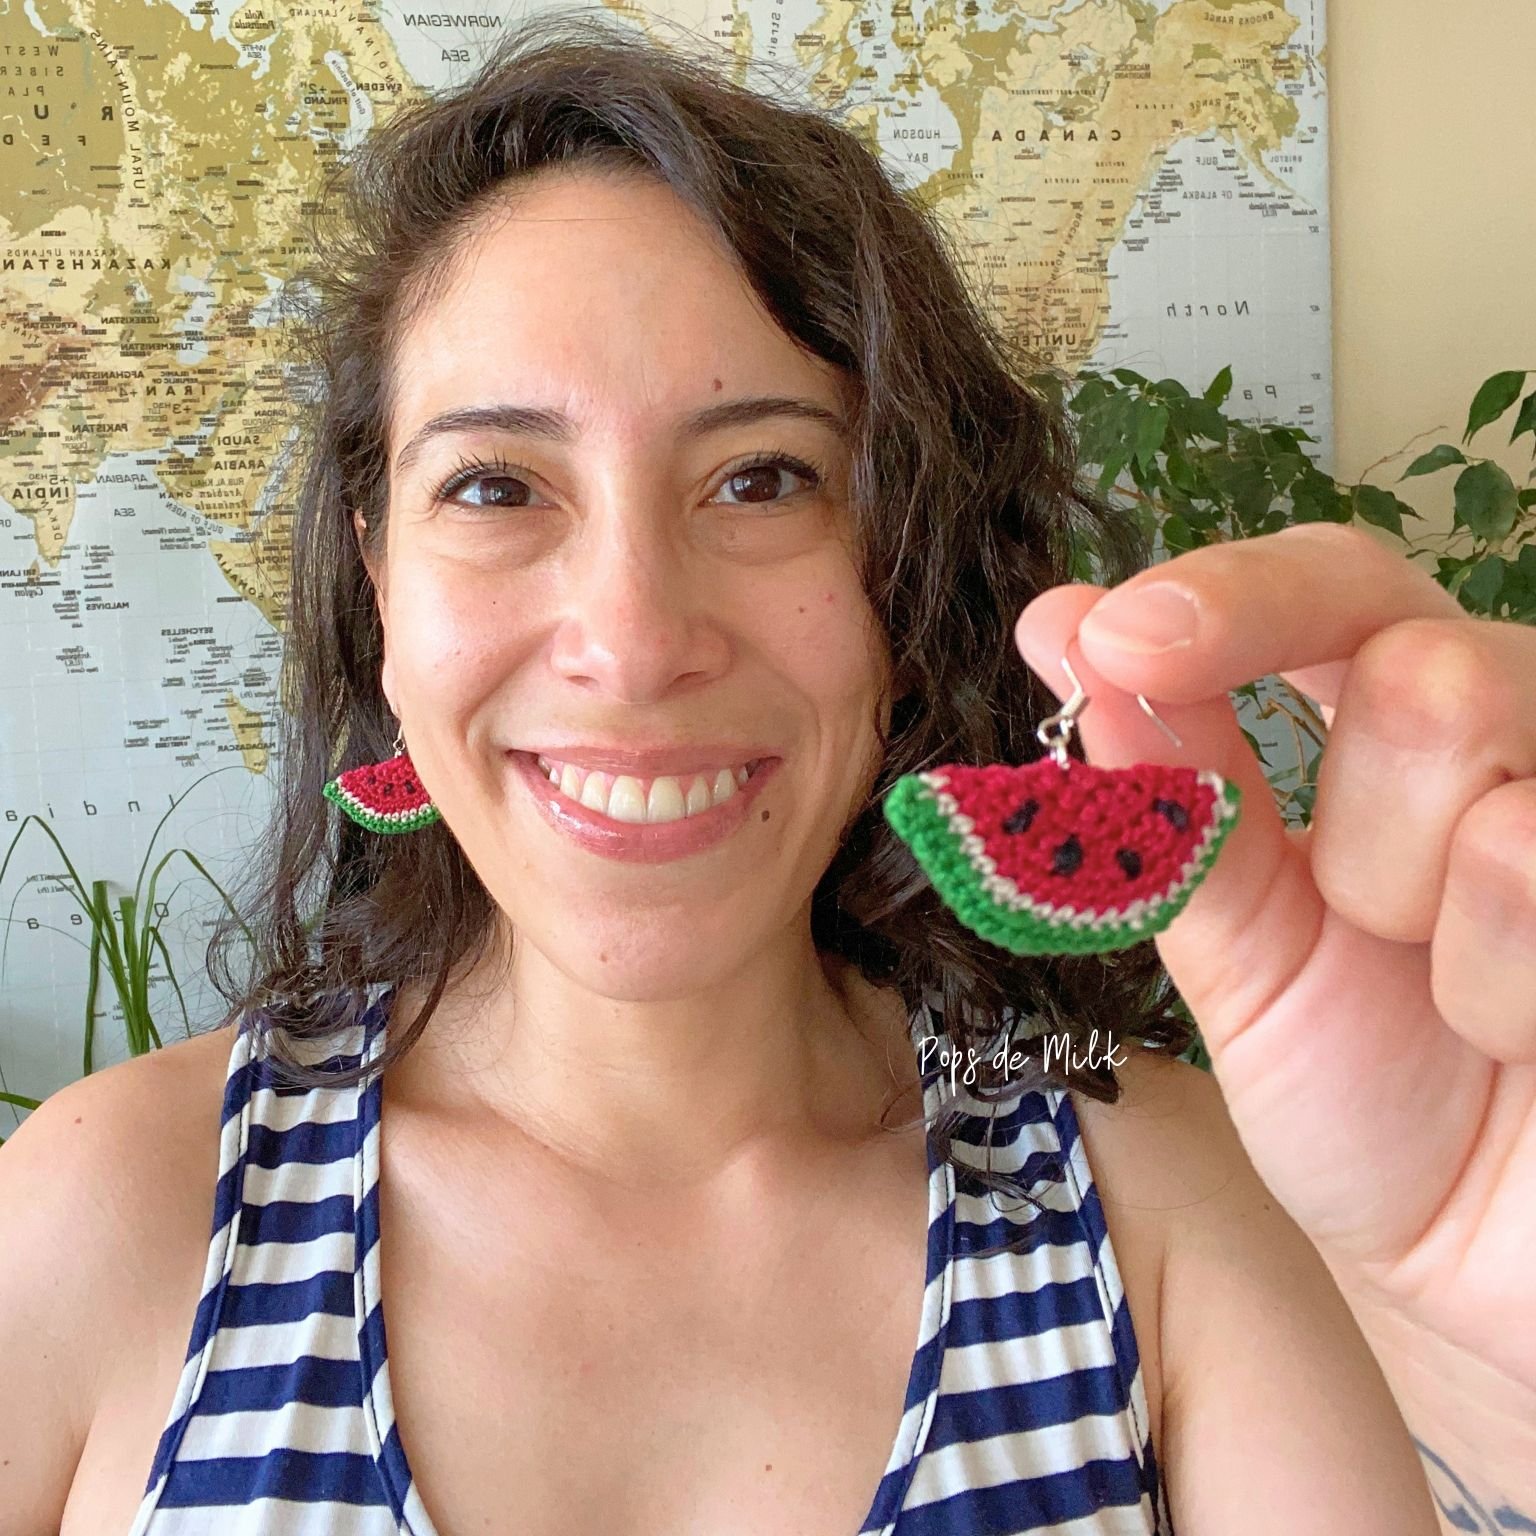
With the earring hooks in place, your crochet watermelon earrings are now ready to shine! Marvel at how adorable they turned out – I absolutely cannot handle the cuteness! 😍

If you make these crochet watermelon earrings I'd love to see your creation, just tag me on Instagram @popsdemilk_crochet and use the hashtag #popsdemilk
Looking for more crochet earrings? Then you might like these:
Peppermint Candy Holiday Earrings
**********
This pattern is for personal use only. The pattern and its photos may not be reproduced, distributed or resold, translated, published, altered, shared or posted in any way over the internet or offline.
You may sell finished items made from this pattern as long as it is handmade by you, not mass produced, giving the credit to Pops de Milk / Patricia Castillo as the designer. If you have any questions, you can email me at patricia@popsdemilk.com
This post contains affiliate links.