
How to Crochet in the Round and Decrease
We've entered the decrease phase! Now that you've got a round shape you'll want to continue shaping it by decreasing some stitches.
A decrease is done by joining two stitches together to make one stitch. And just like when you made increases, the decreases are also evenly spaced apart.
If you've just found this post I recommend you visit part 1 how to crochet in the round and increase.
Here’s how to decrease in crochet
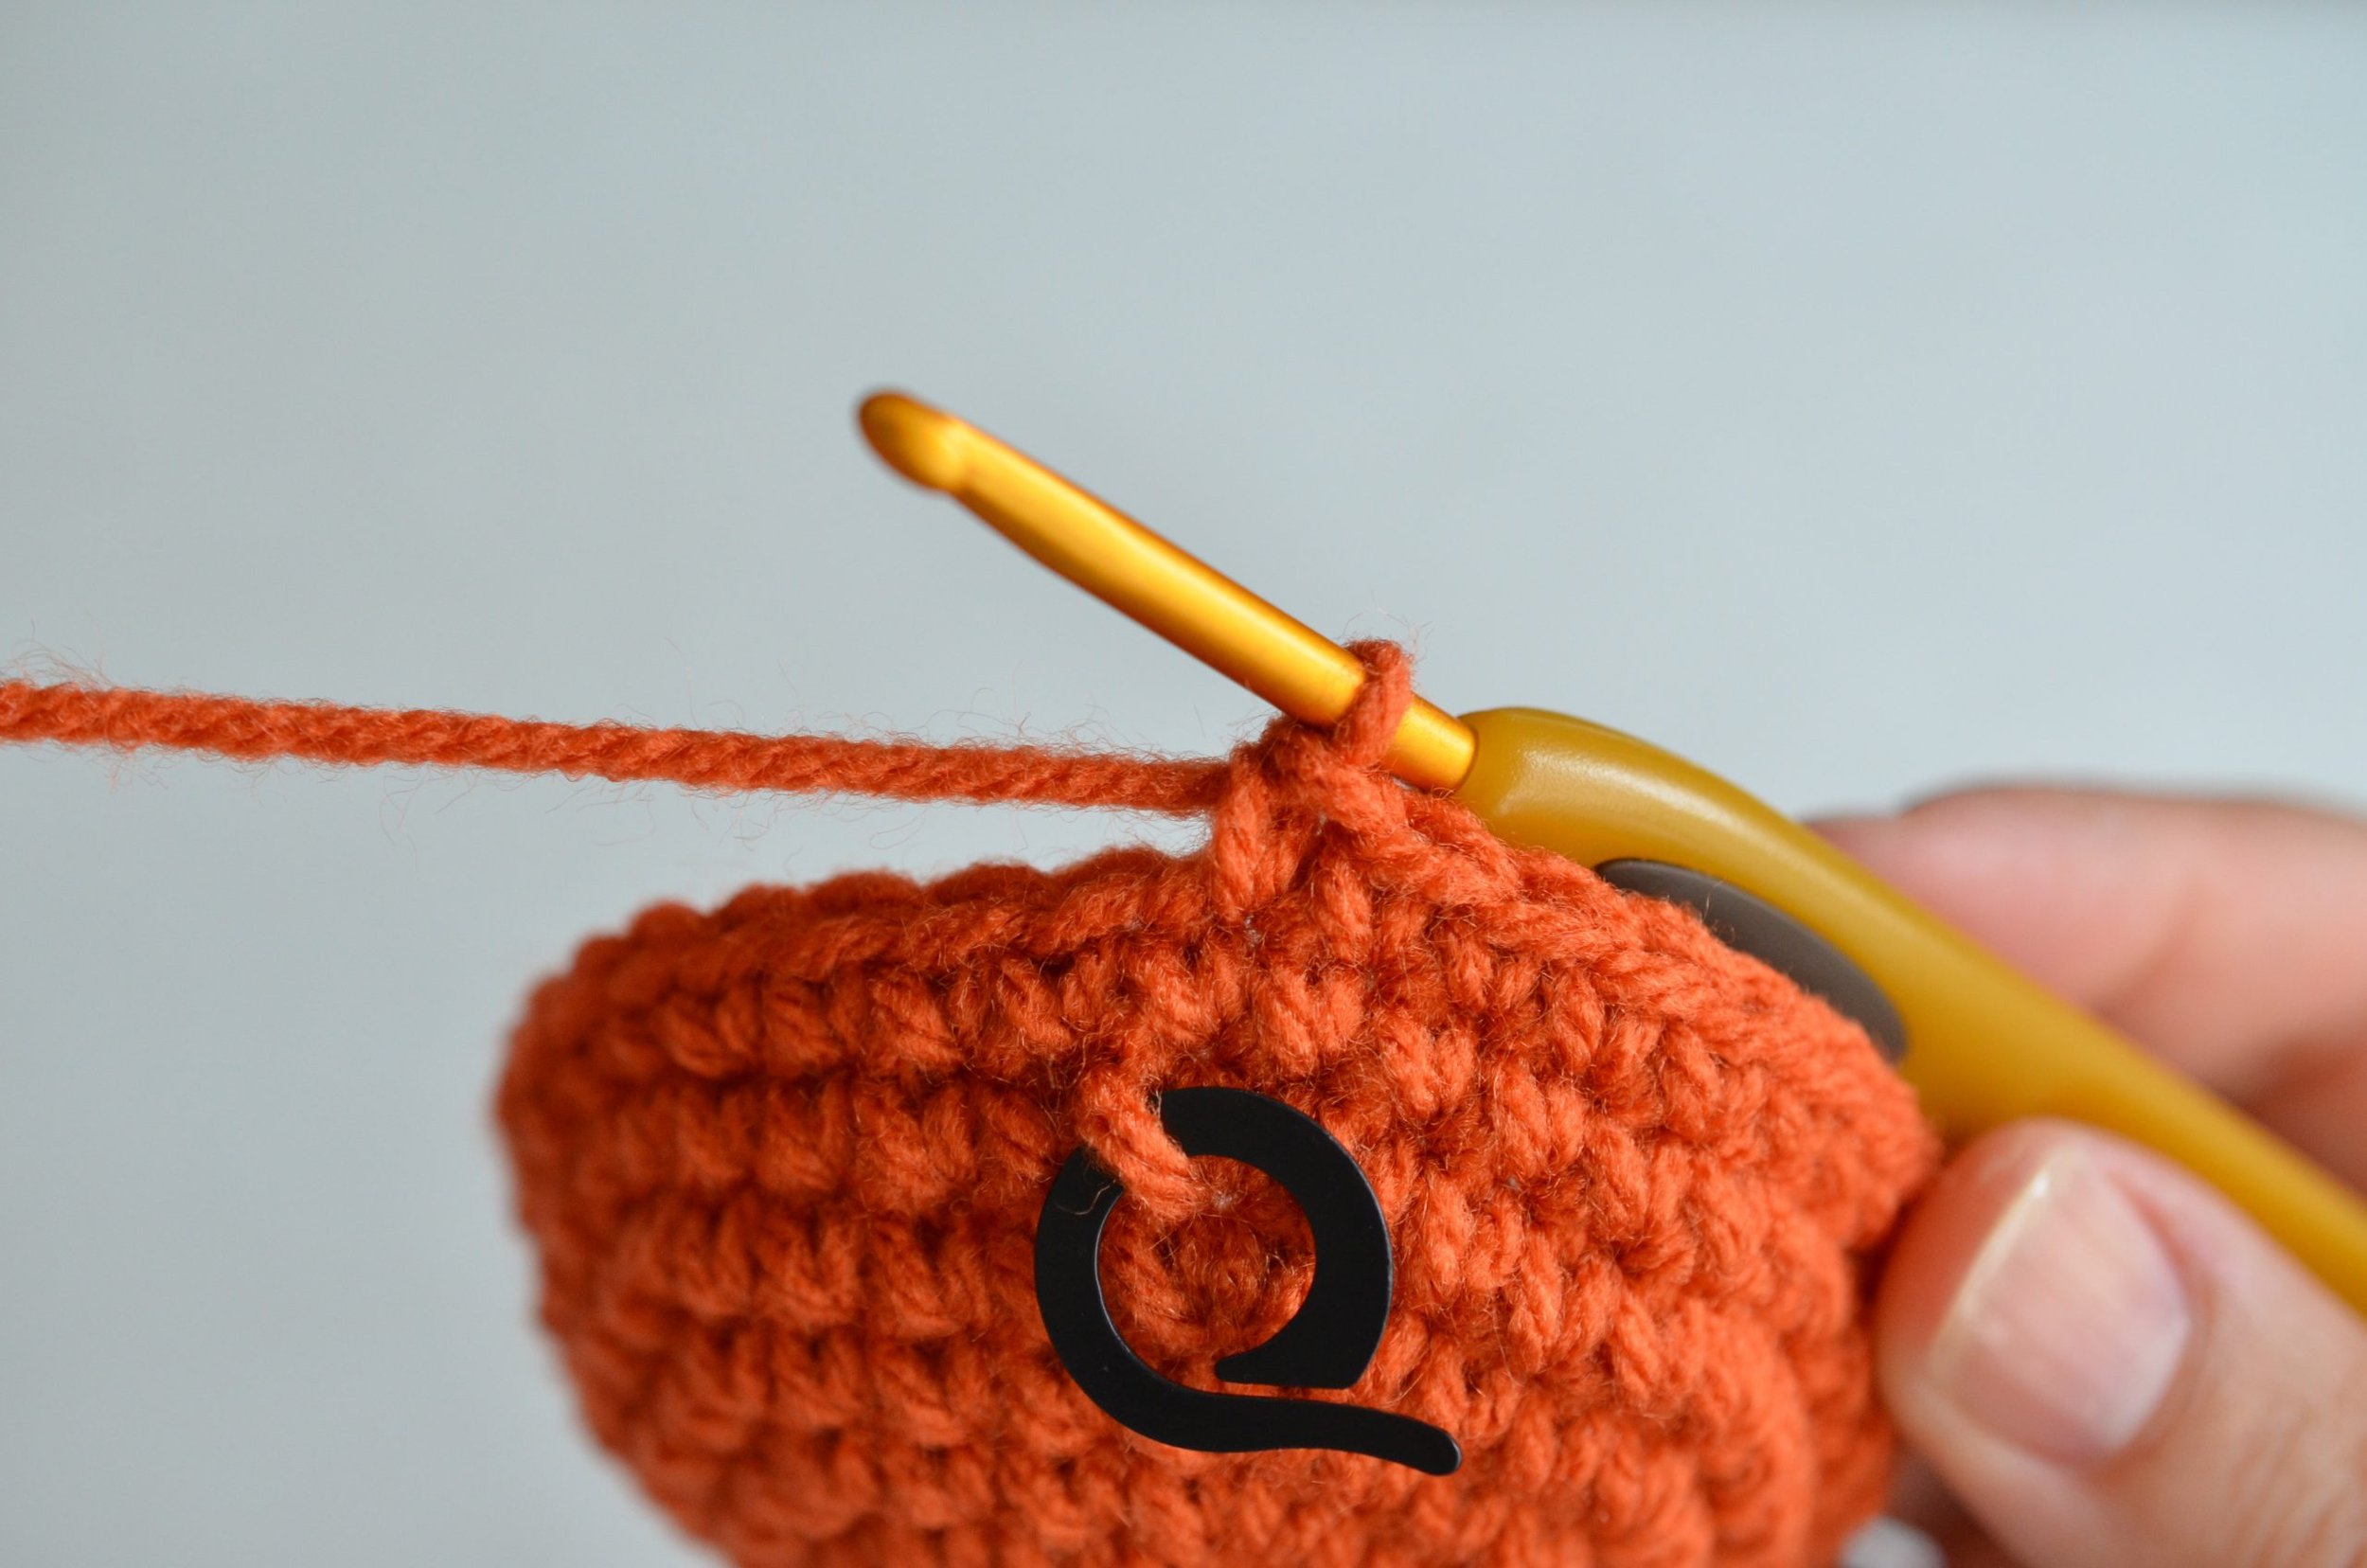
To start a decrease insert the hook into the indicated stitch
Wrap the yarn over the hook and pull through (looks like the beginning of a single crochet stitch)
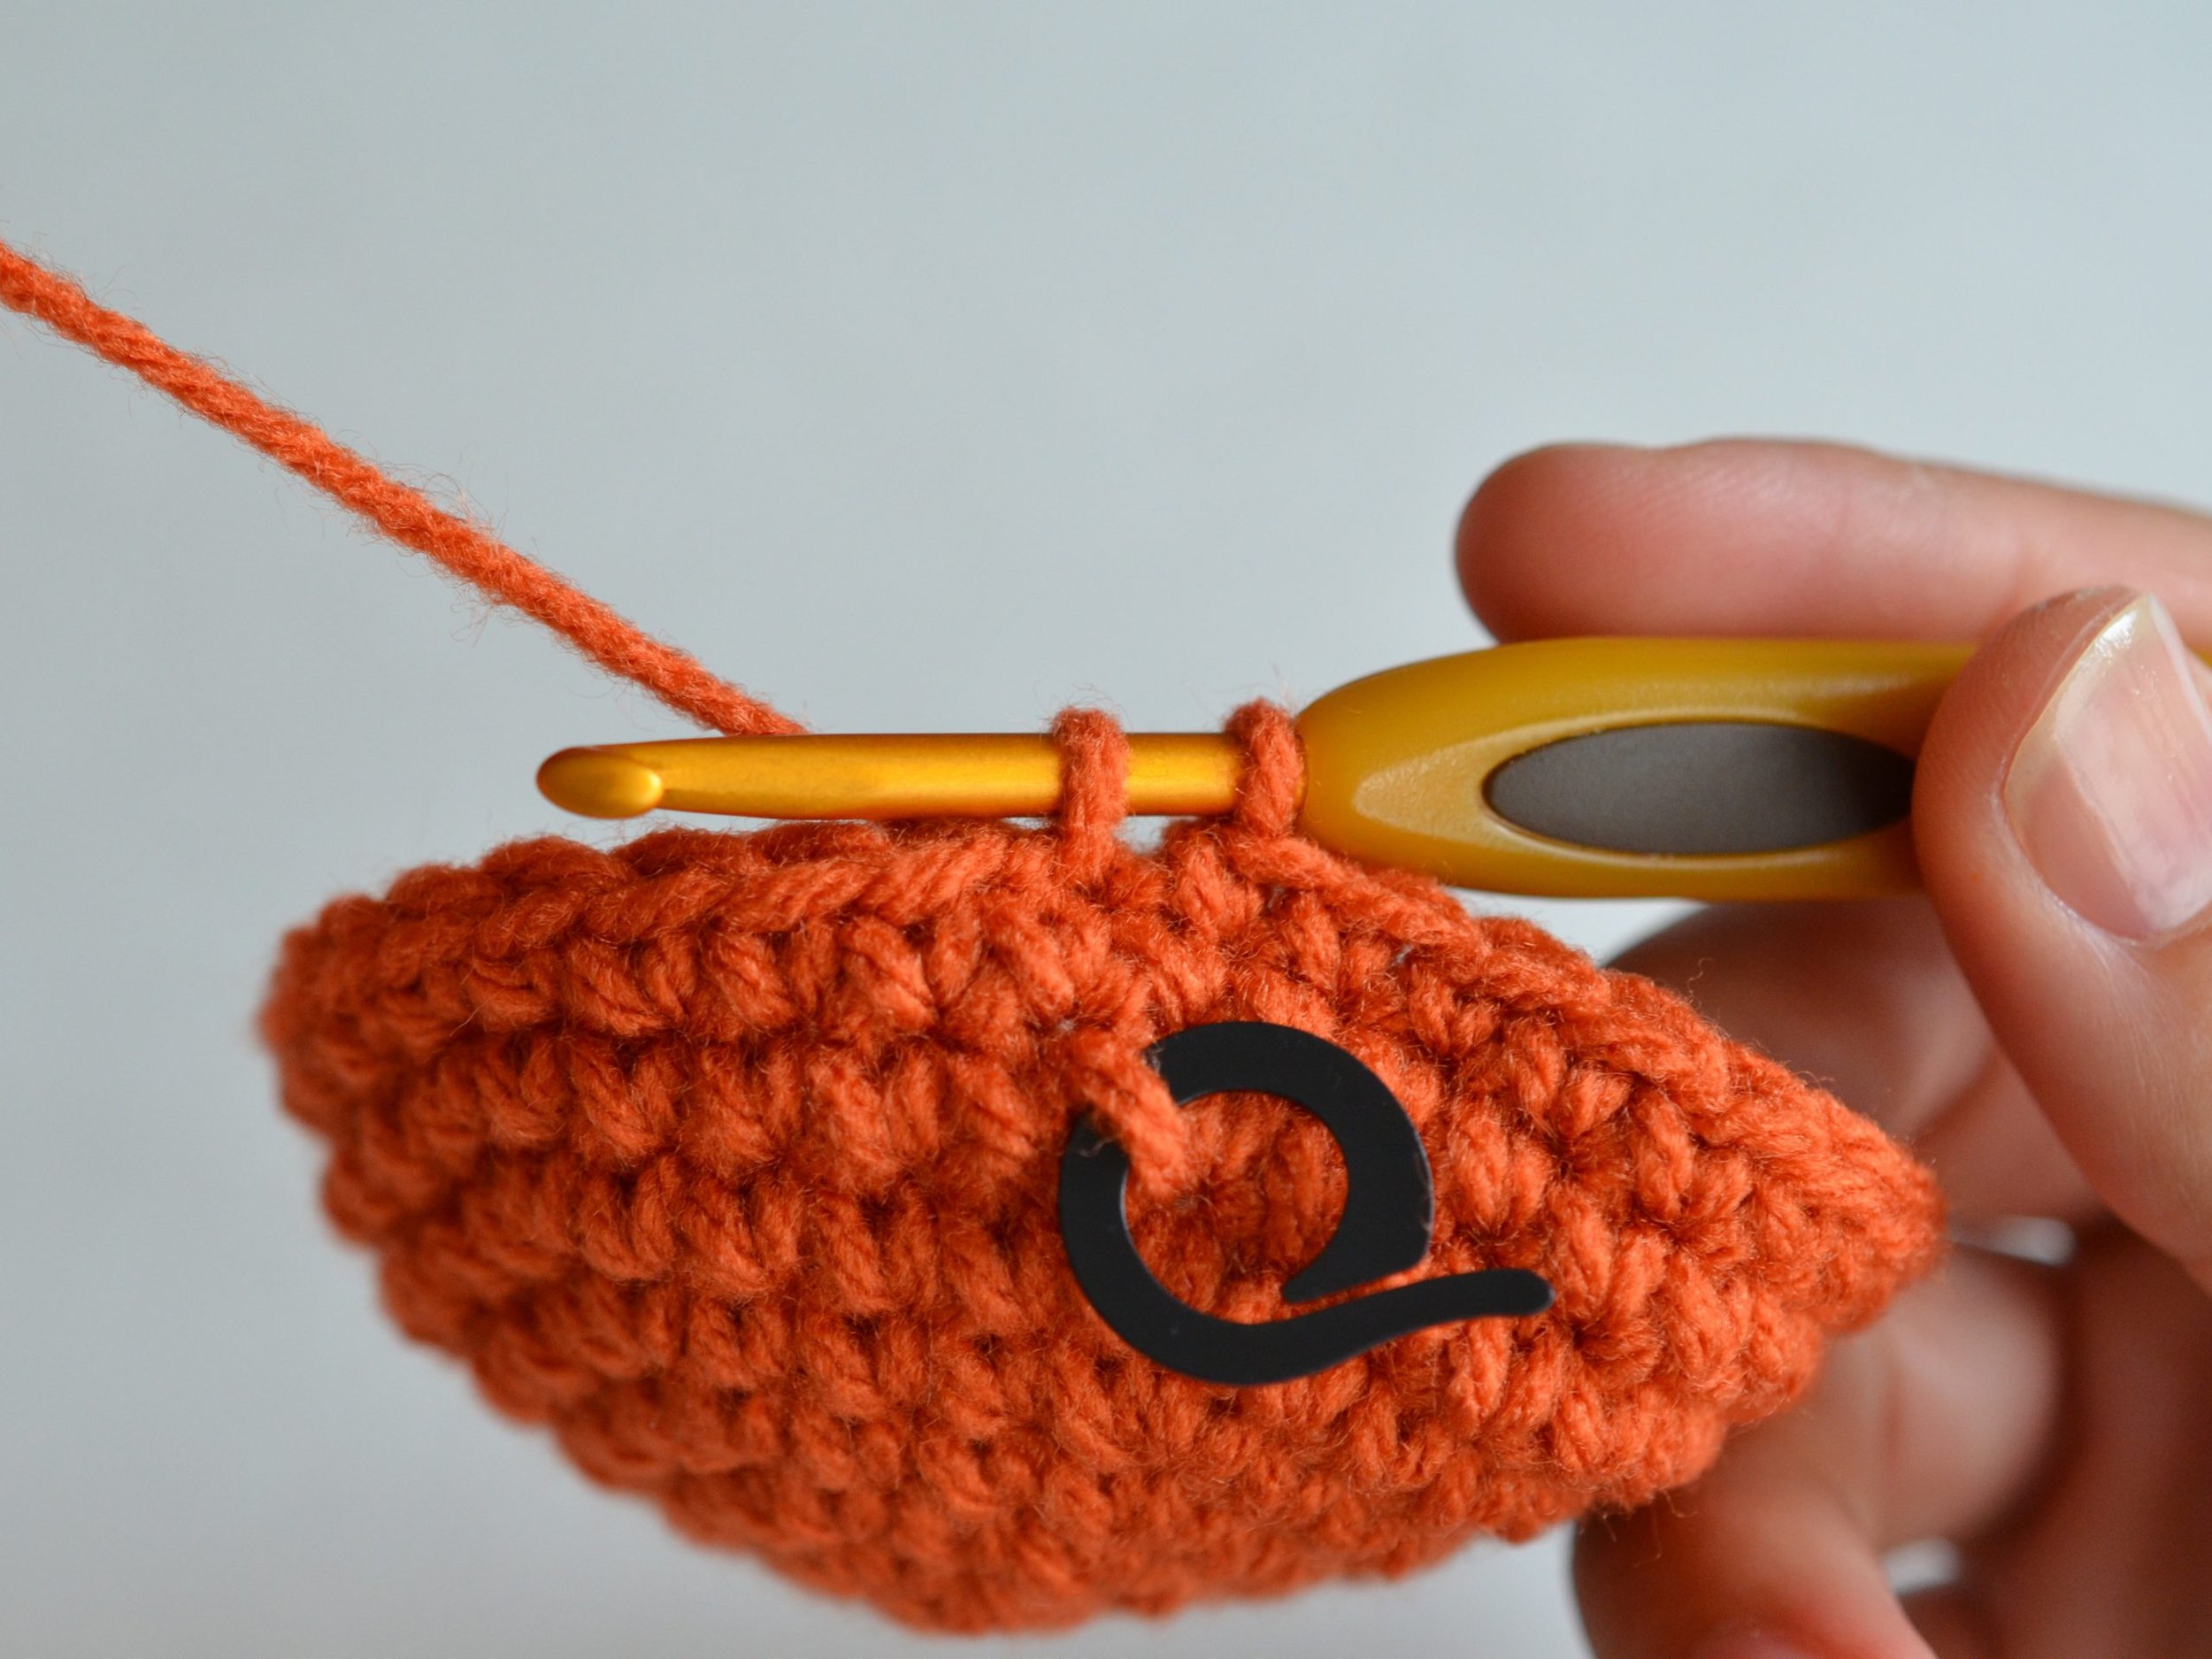
Insert the hook into the next stitch
Wrap the yarn over the hook and pull it through
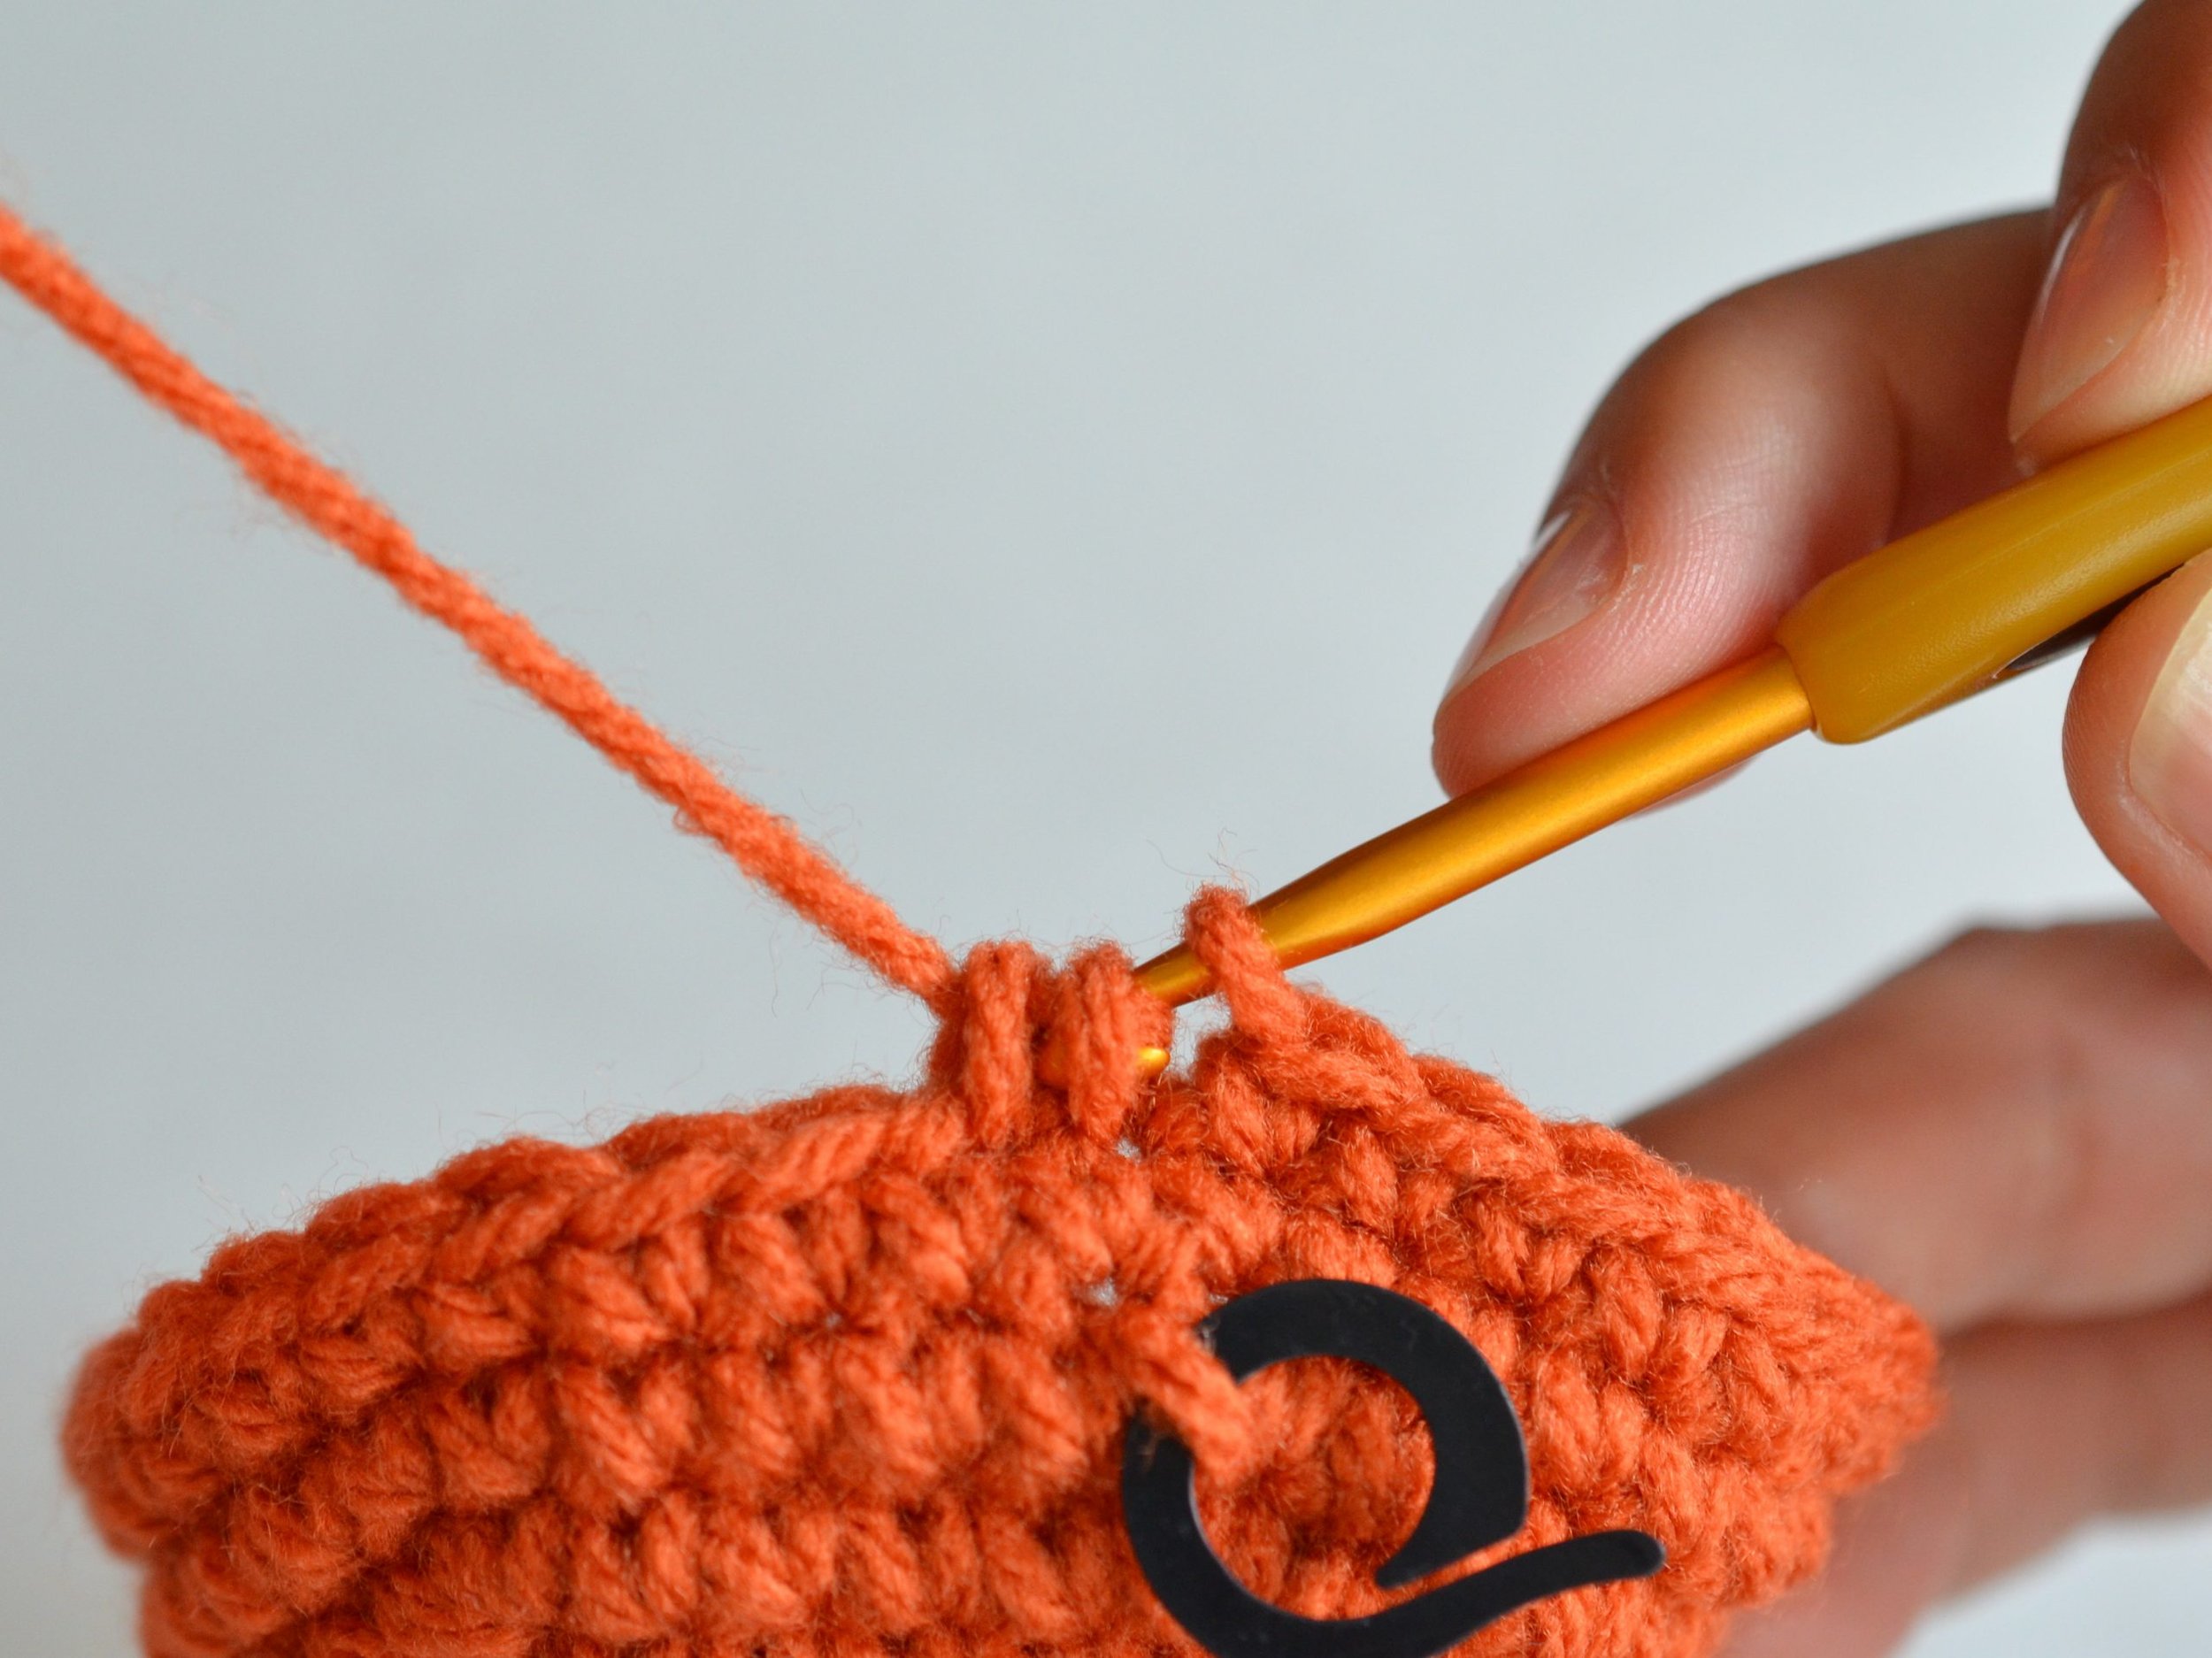
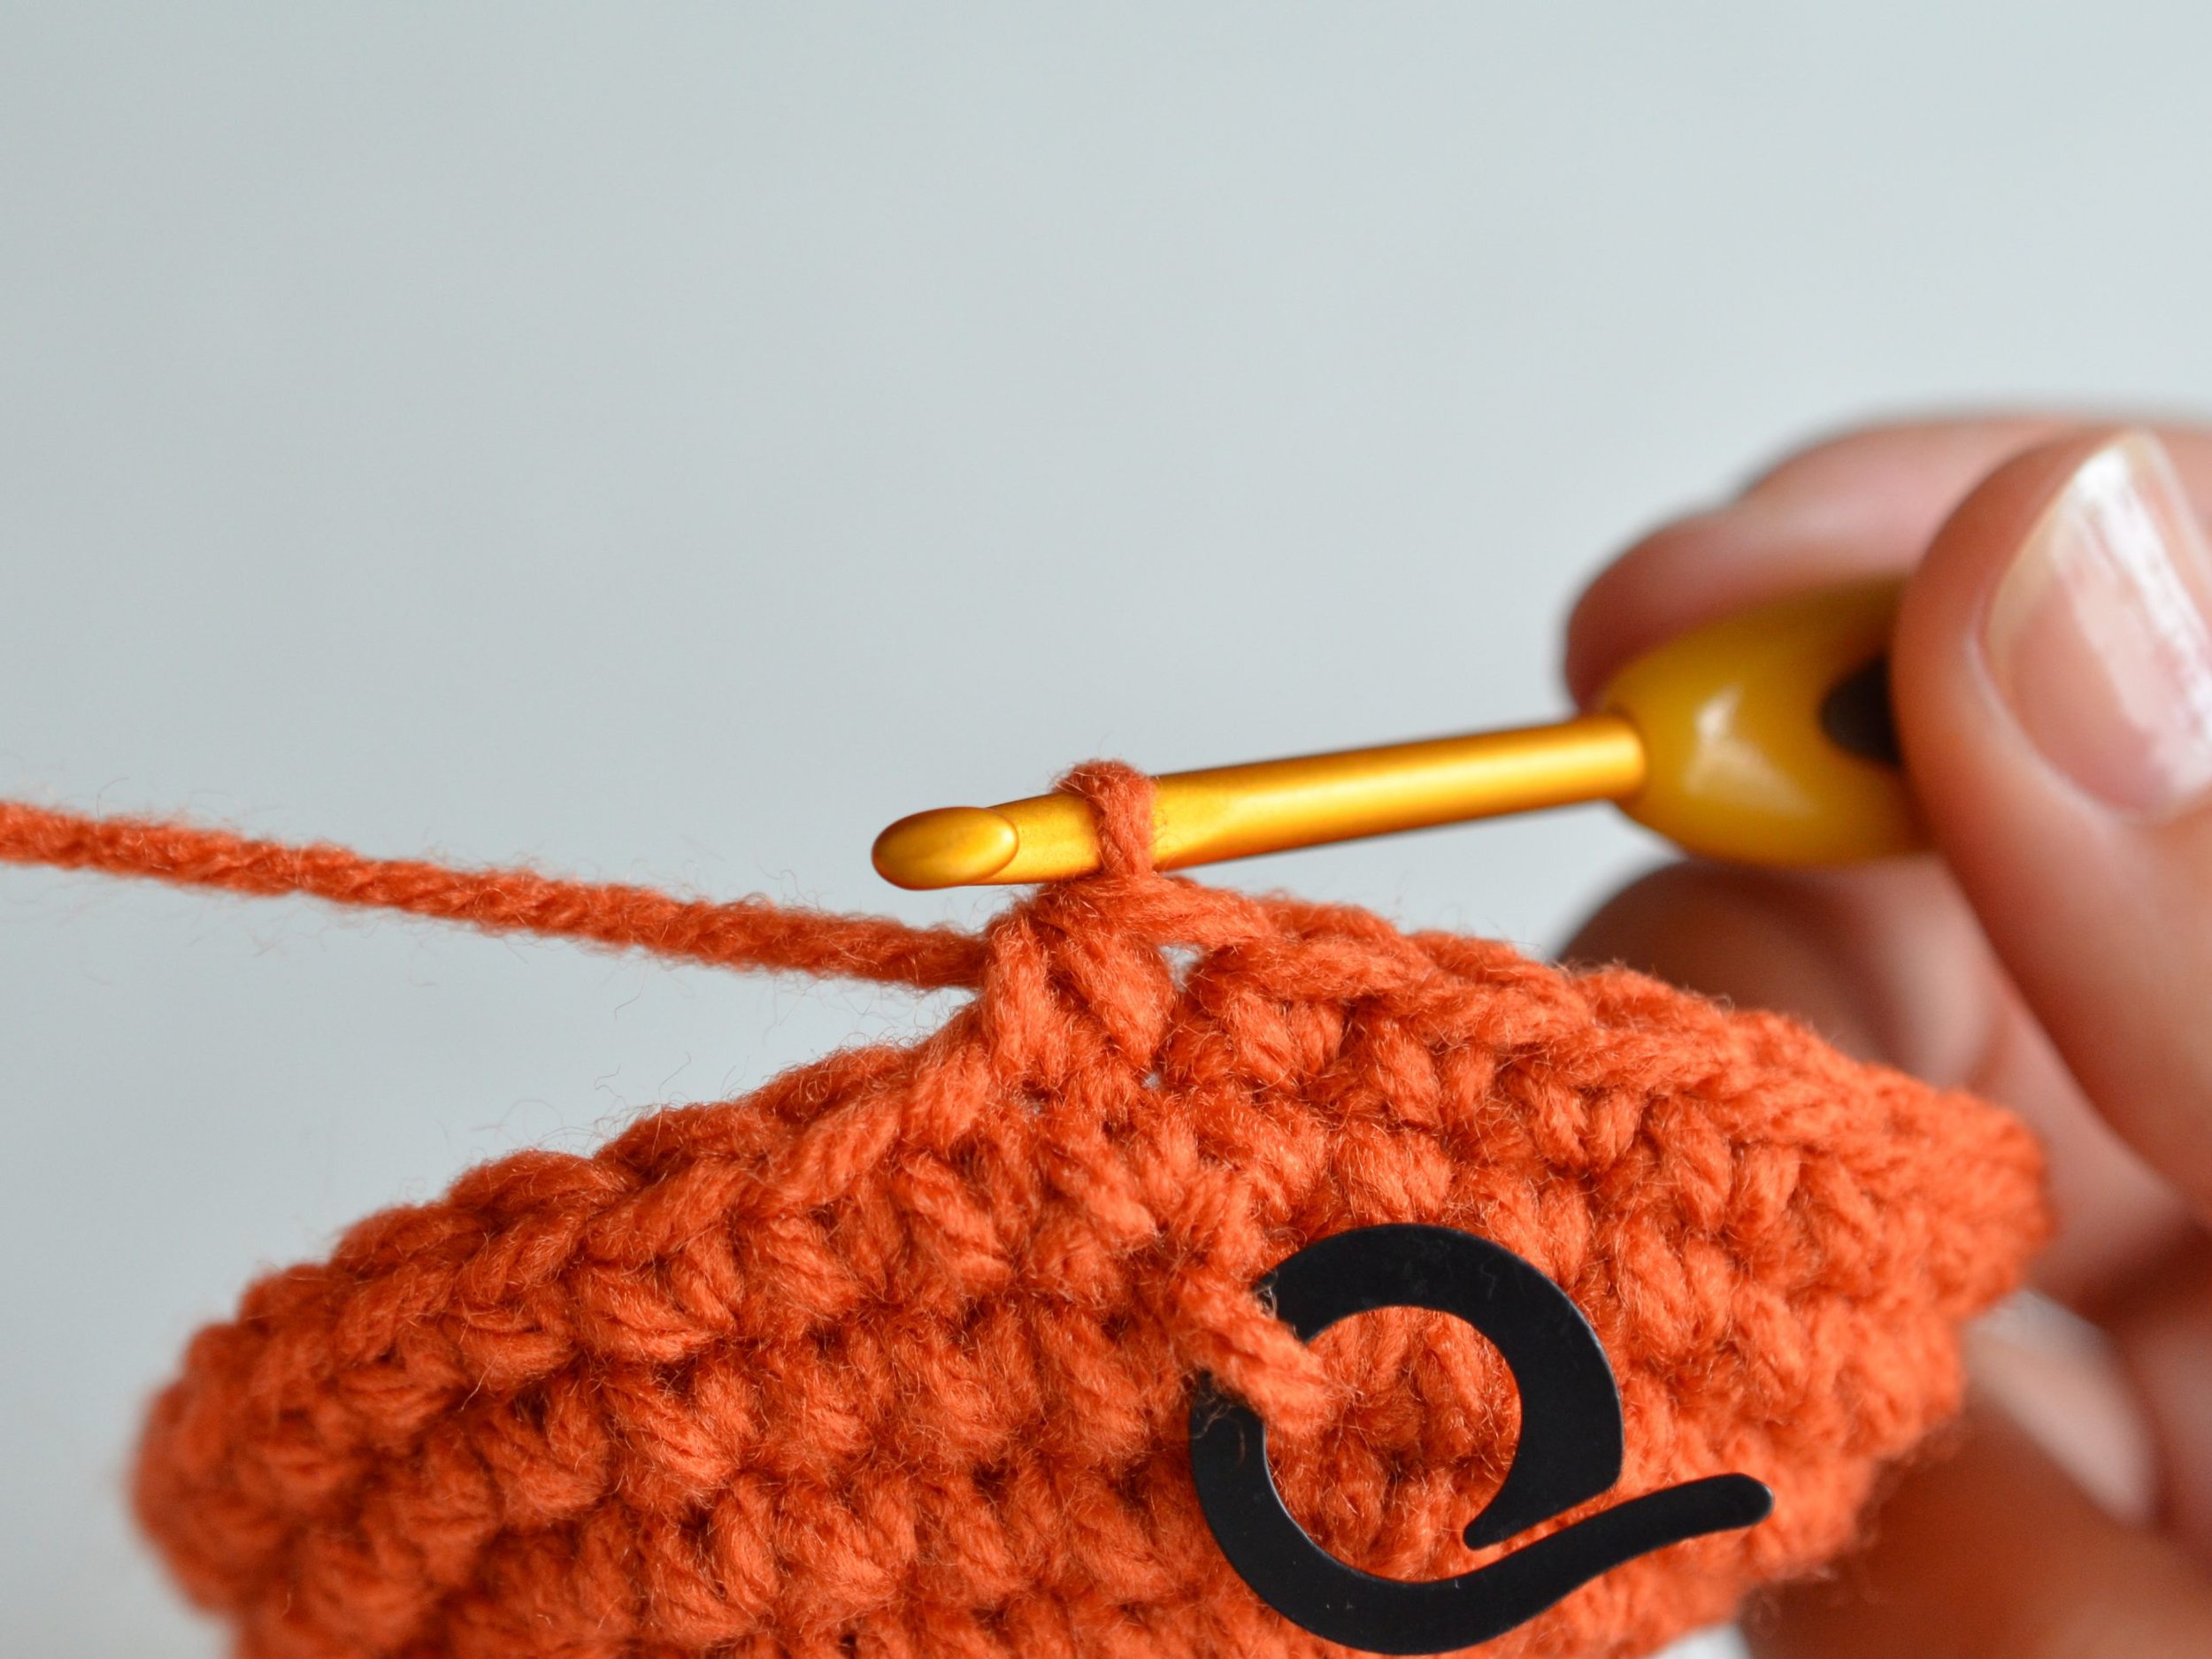
Now you have 3 loops on the hook. Wrap the yarn over the hook and pull through all loops. That's a decrease:


Because we are continuing to make a pumpkin shape we'll need to add a few stitches in between the decreases (dec), as I mentioned in the increase post they need to be evenly spaced. The combination of stitches and decreases to be repeated are between brackets. Since we’re continuing from the previous blog post on how to crochet in the round and increase, we’ll begin decreasing at Round 9.
Round 9: [sc in next 4 stitches, dec] repeat 6 times (30 sts)
This means: Follow the instructions in the brackets. Make 1 single crochet in the next 4 stitches, then single crochet the next 2 stitches together and repeat all the way around, which will be 6 times and will result in a total of 30 stitches at the end of the round.
Round 8: [sc in next 3 stitches, dec] repeat 6 times (24 sts)
Round 9: [sc in next 2 stitches, dec] repeat 6 times (18 sts)
Round 10: [sc in next stitch, dec] repeat 6 times (12 sts)
Round 11: dec 6 times (6 sts)
In the photo below I've made 4 single crochet stitches:
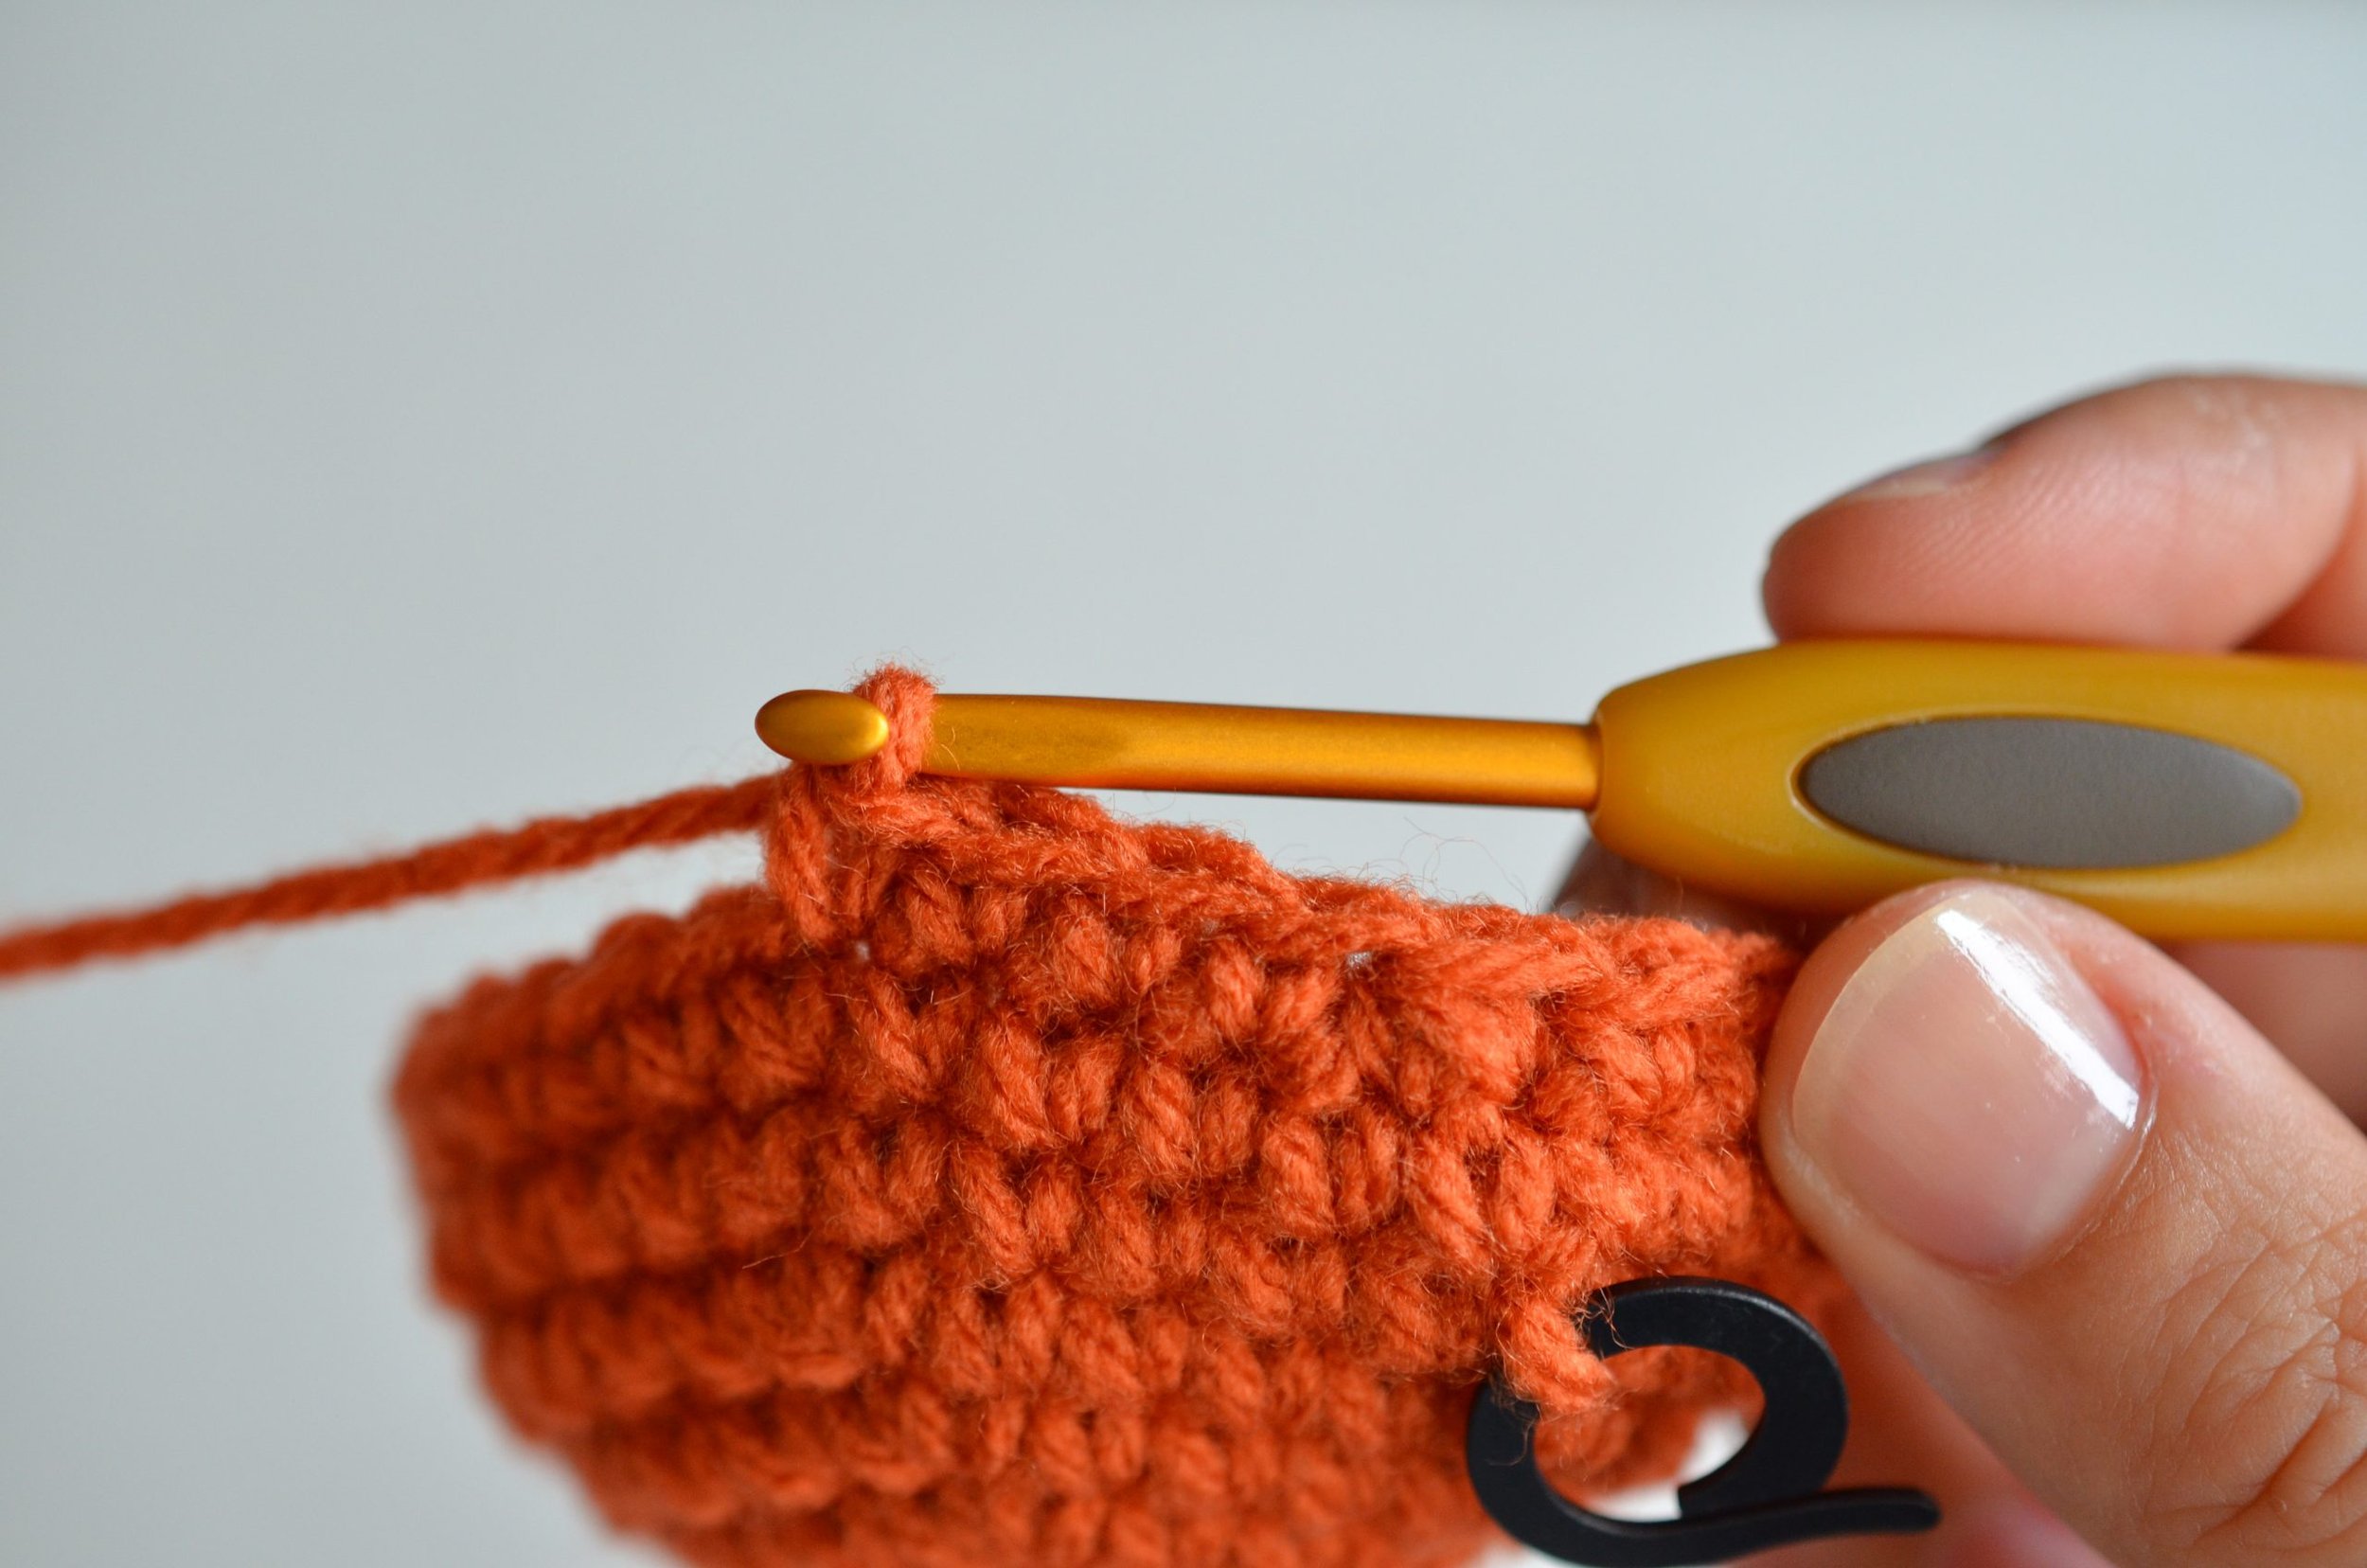
Then started a decrease:


And now I'm ready to repeat that sequence (sc in next 4 sts, dec) all the way around until I have 30 sts at the end of the round:

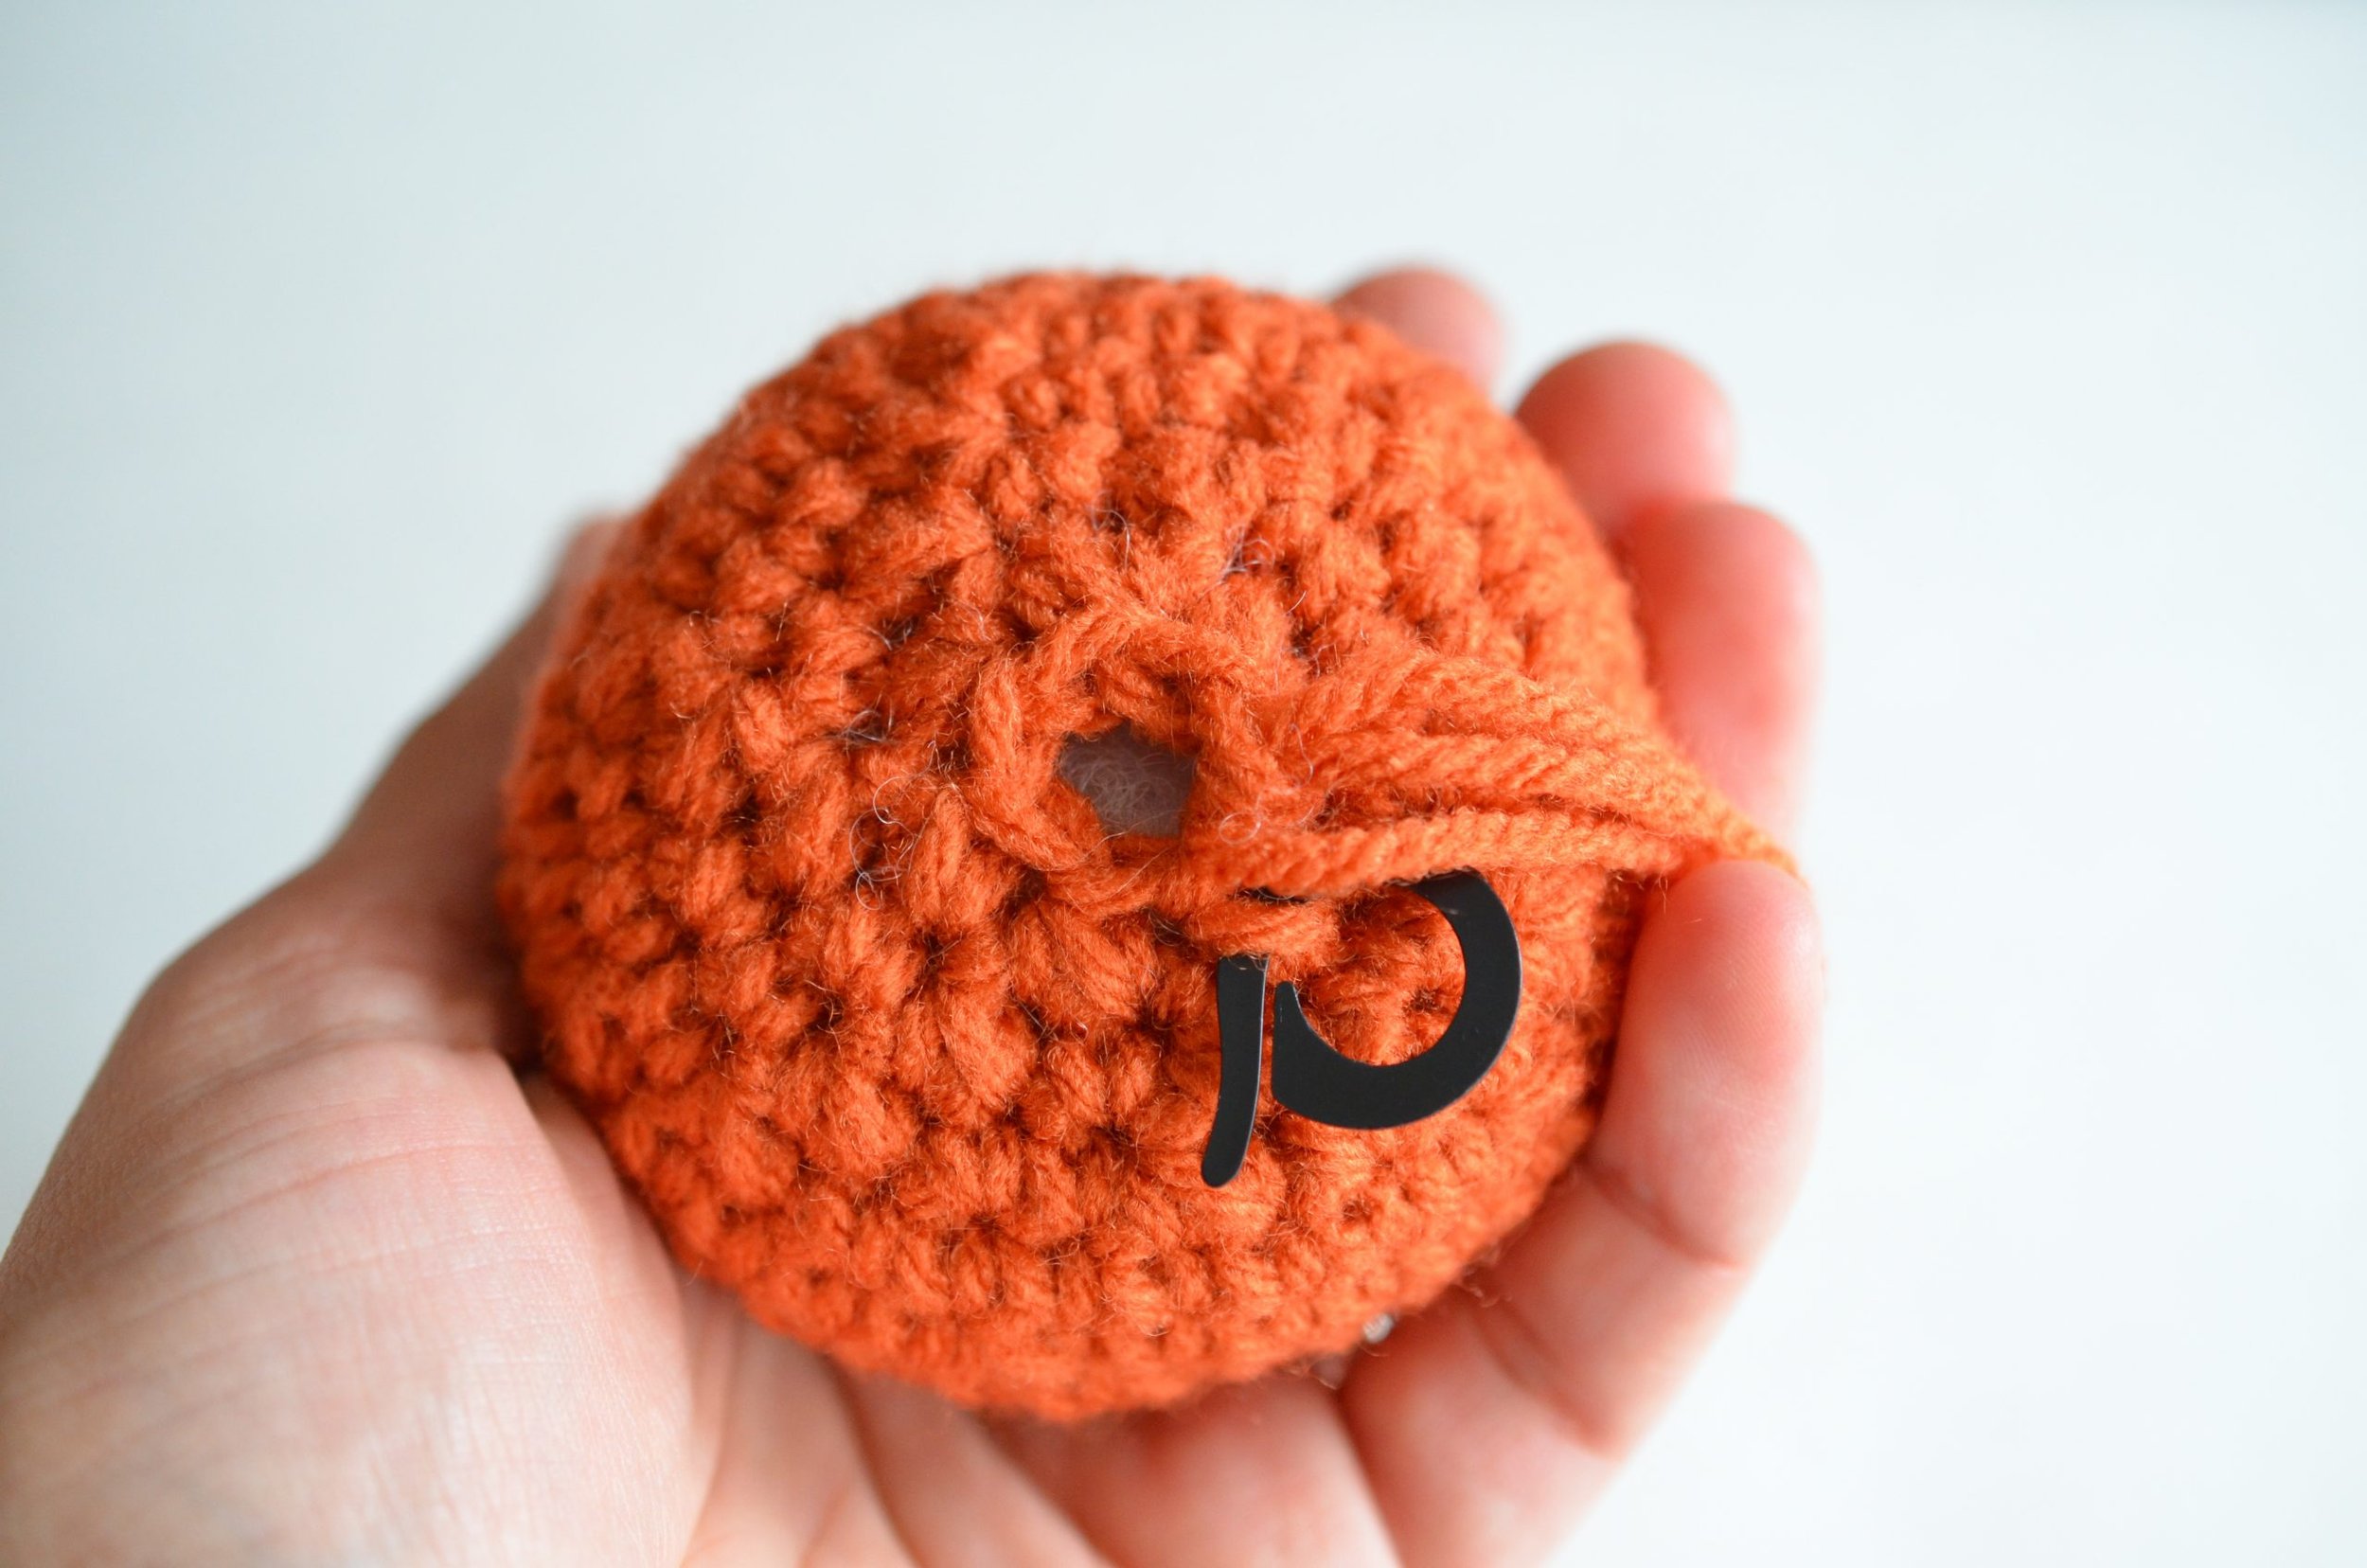
Continue to make decreases and you'll start to see the pumpkin taking shape:

Something people ask me is when to begin stuffing the project at hand. It really depends on the size of the item but in this case because it's small, I've decreased until there are 12 stitches and there is a hole big enough to fit stuffing:

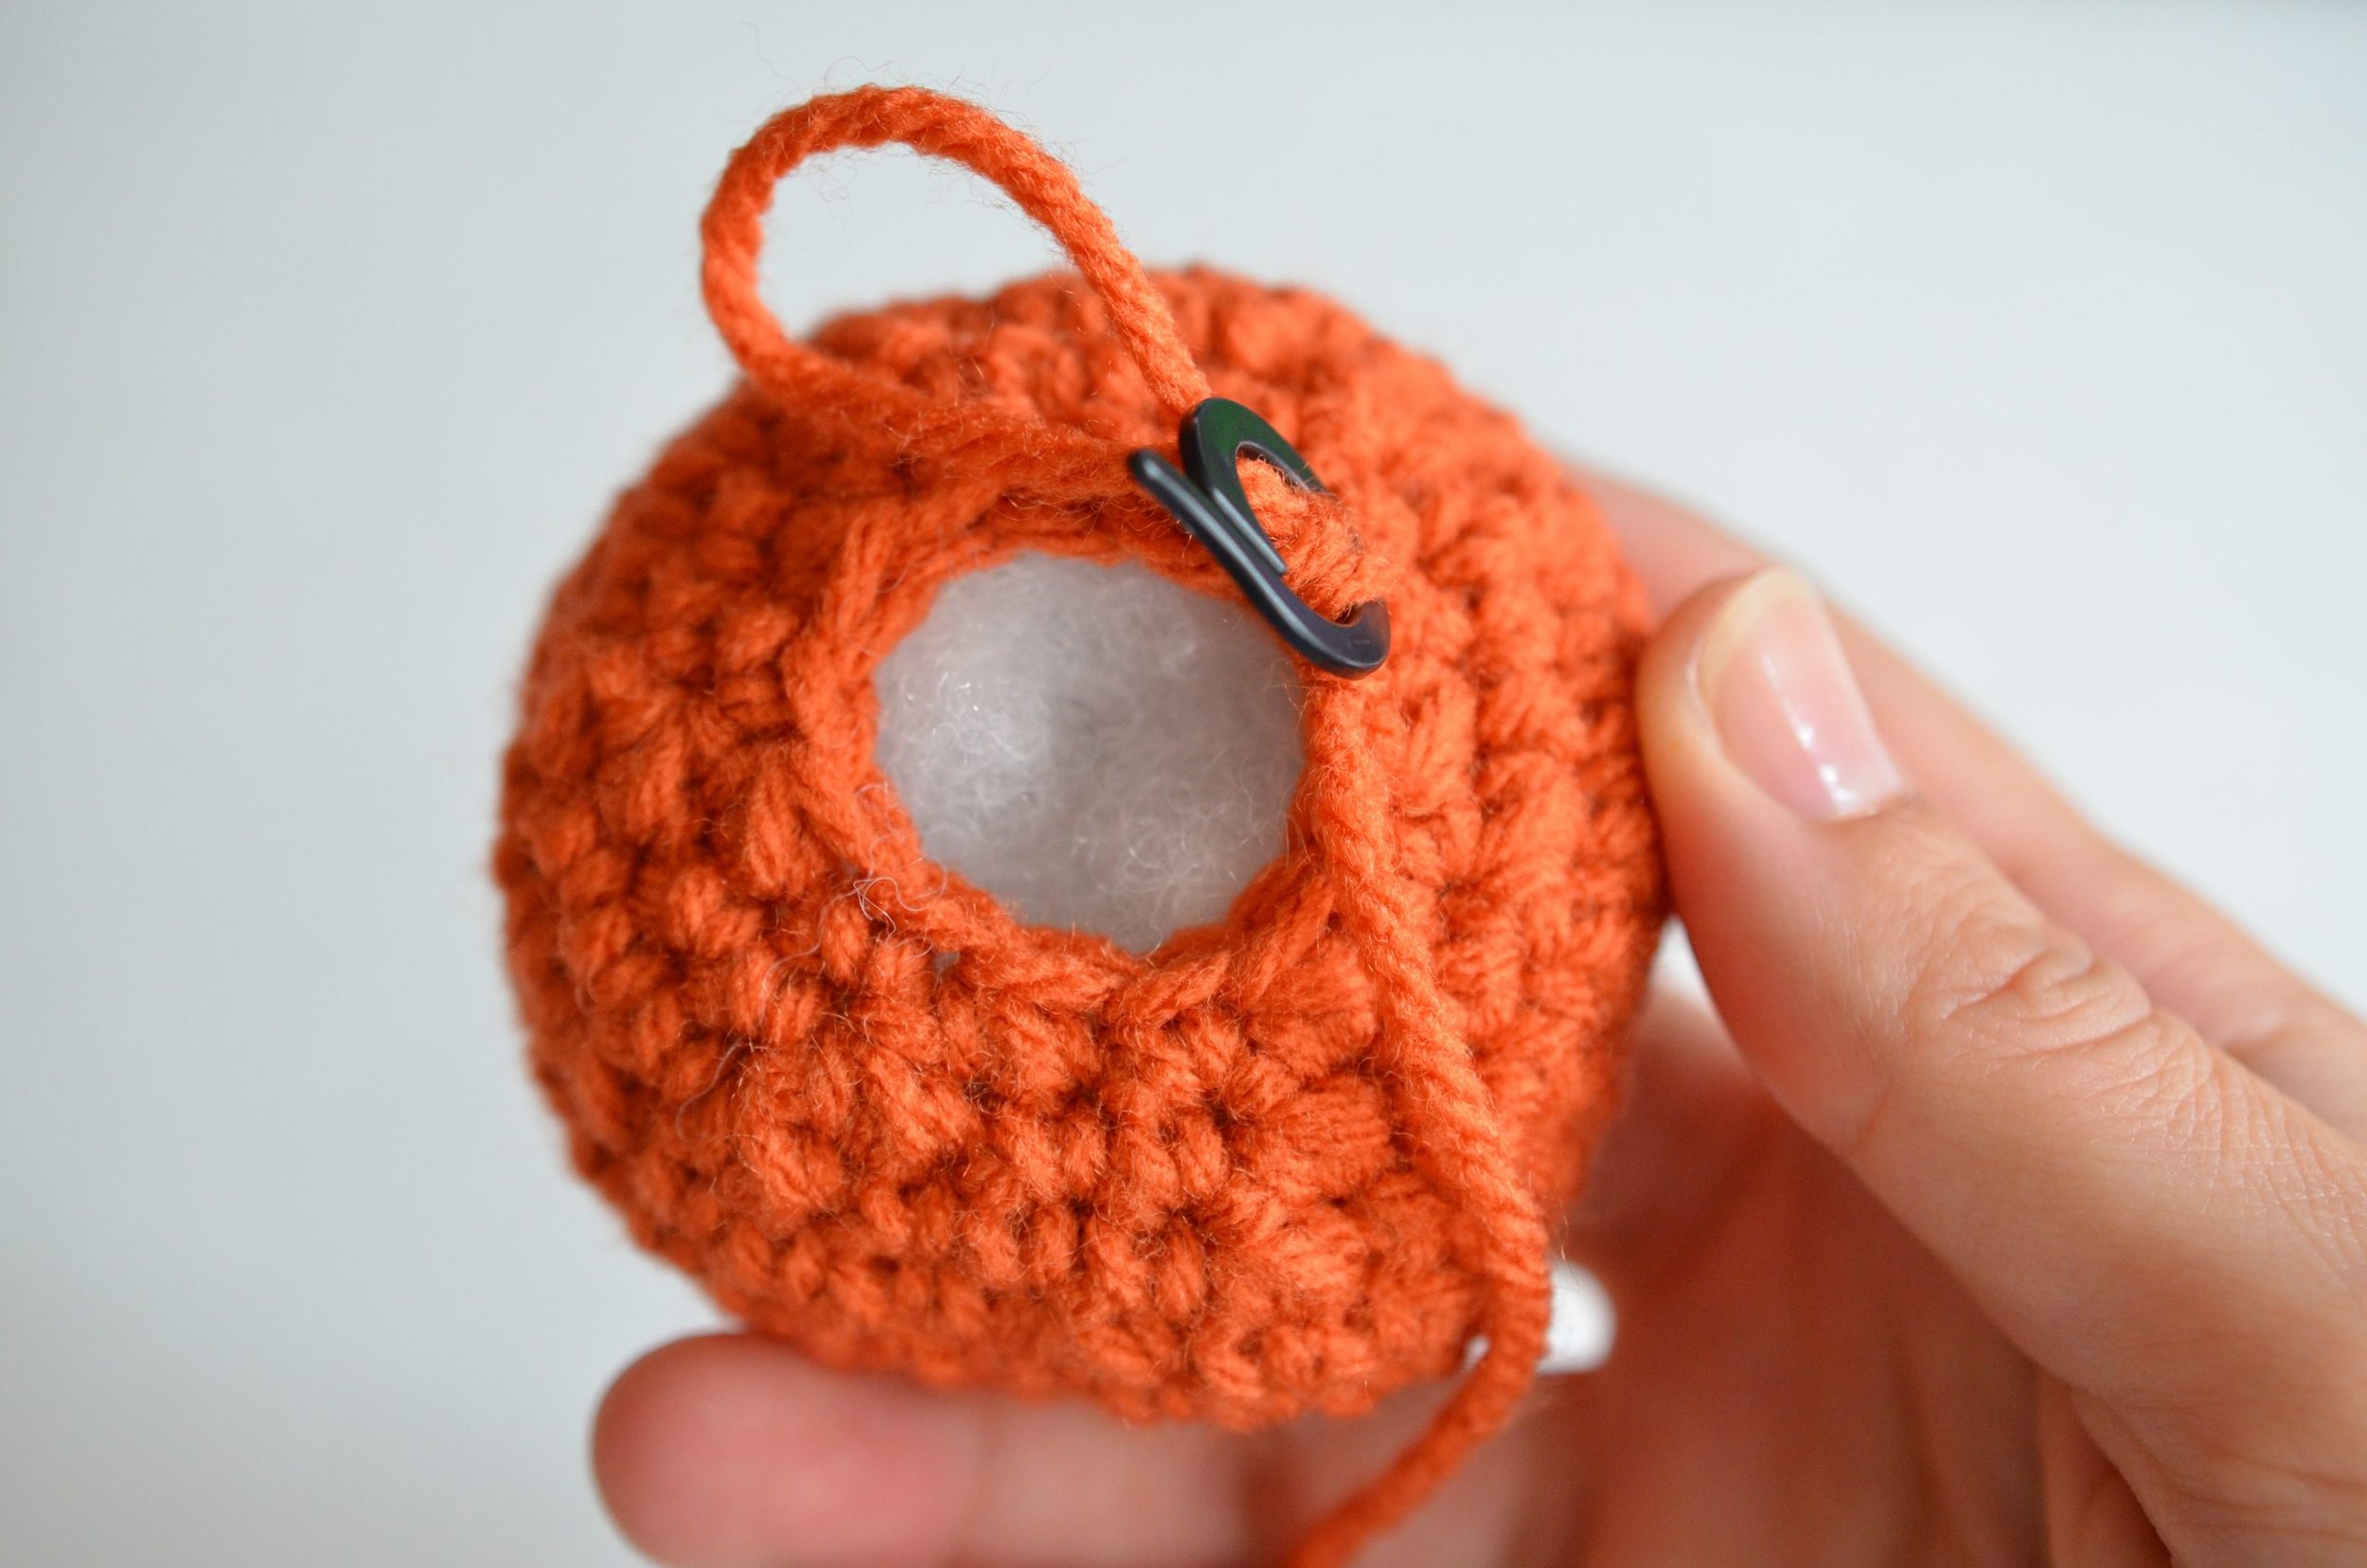
I like to leave a bit of space at the top so I have room to continue decreasing and I can add more stuffing just as I finish off.
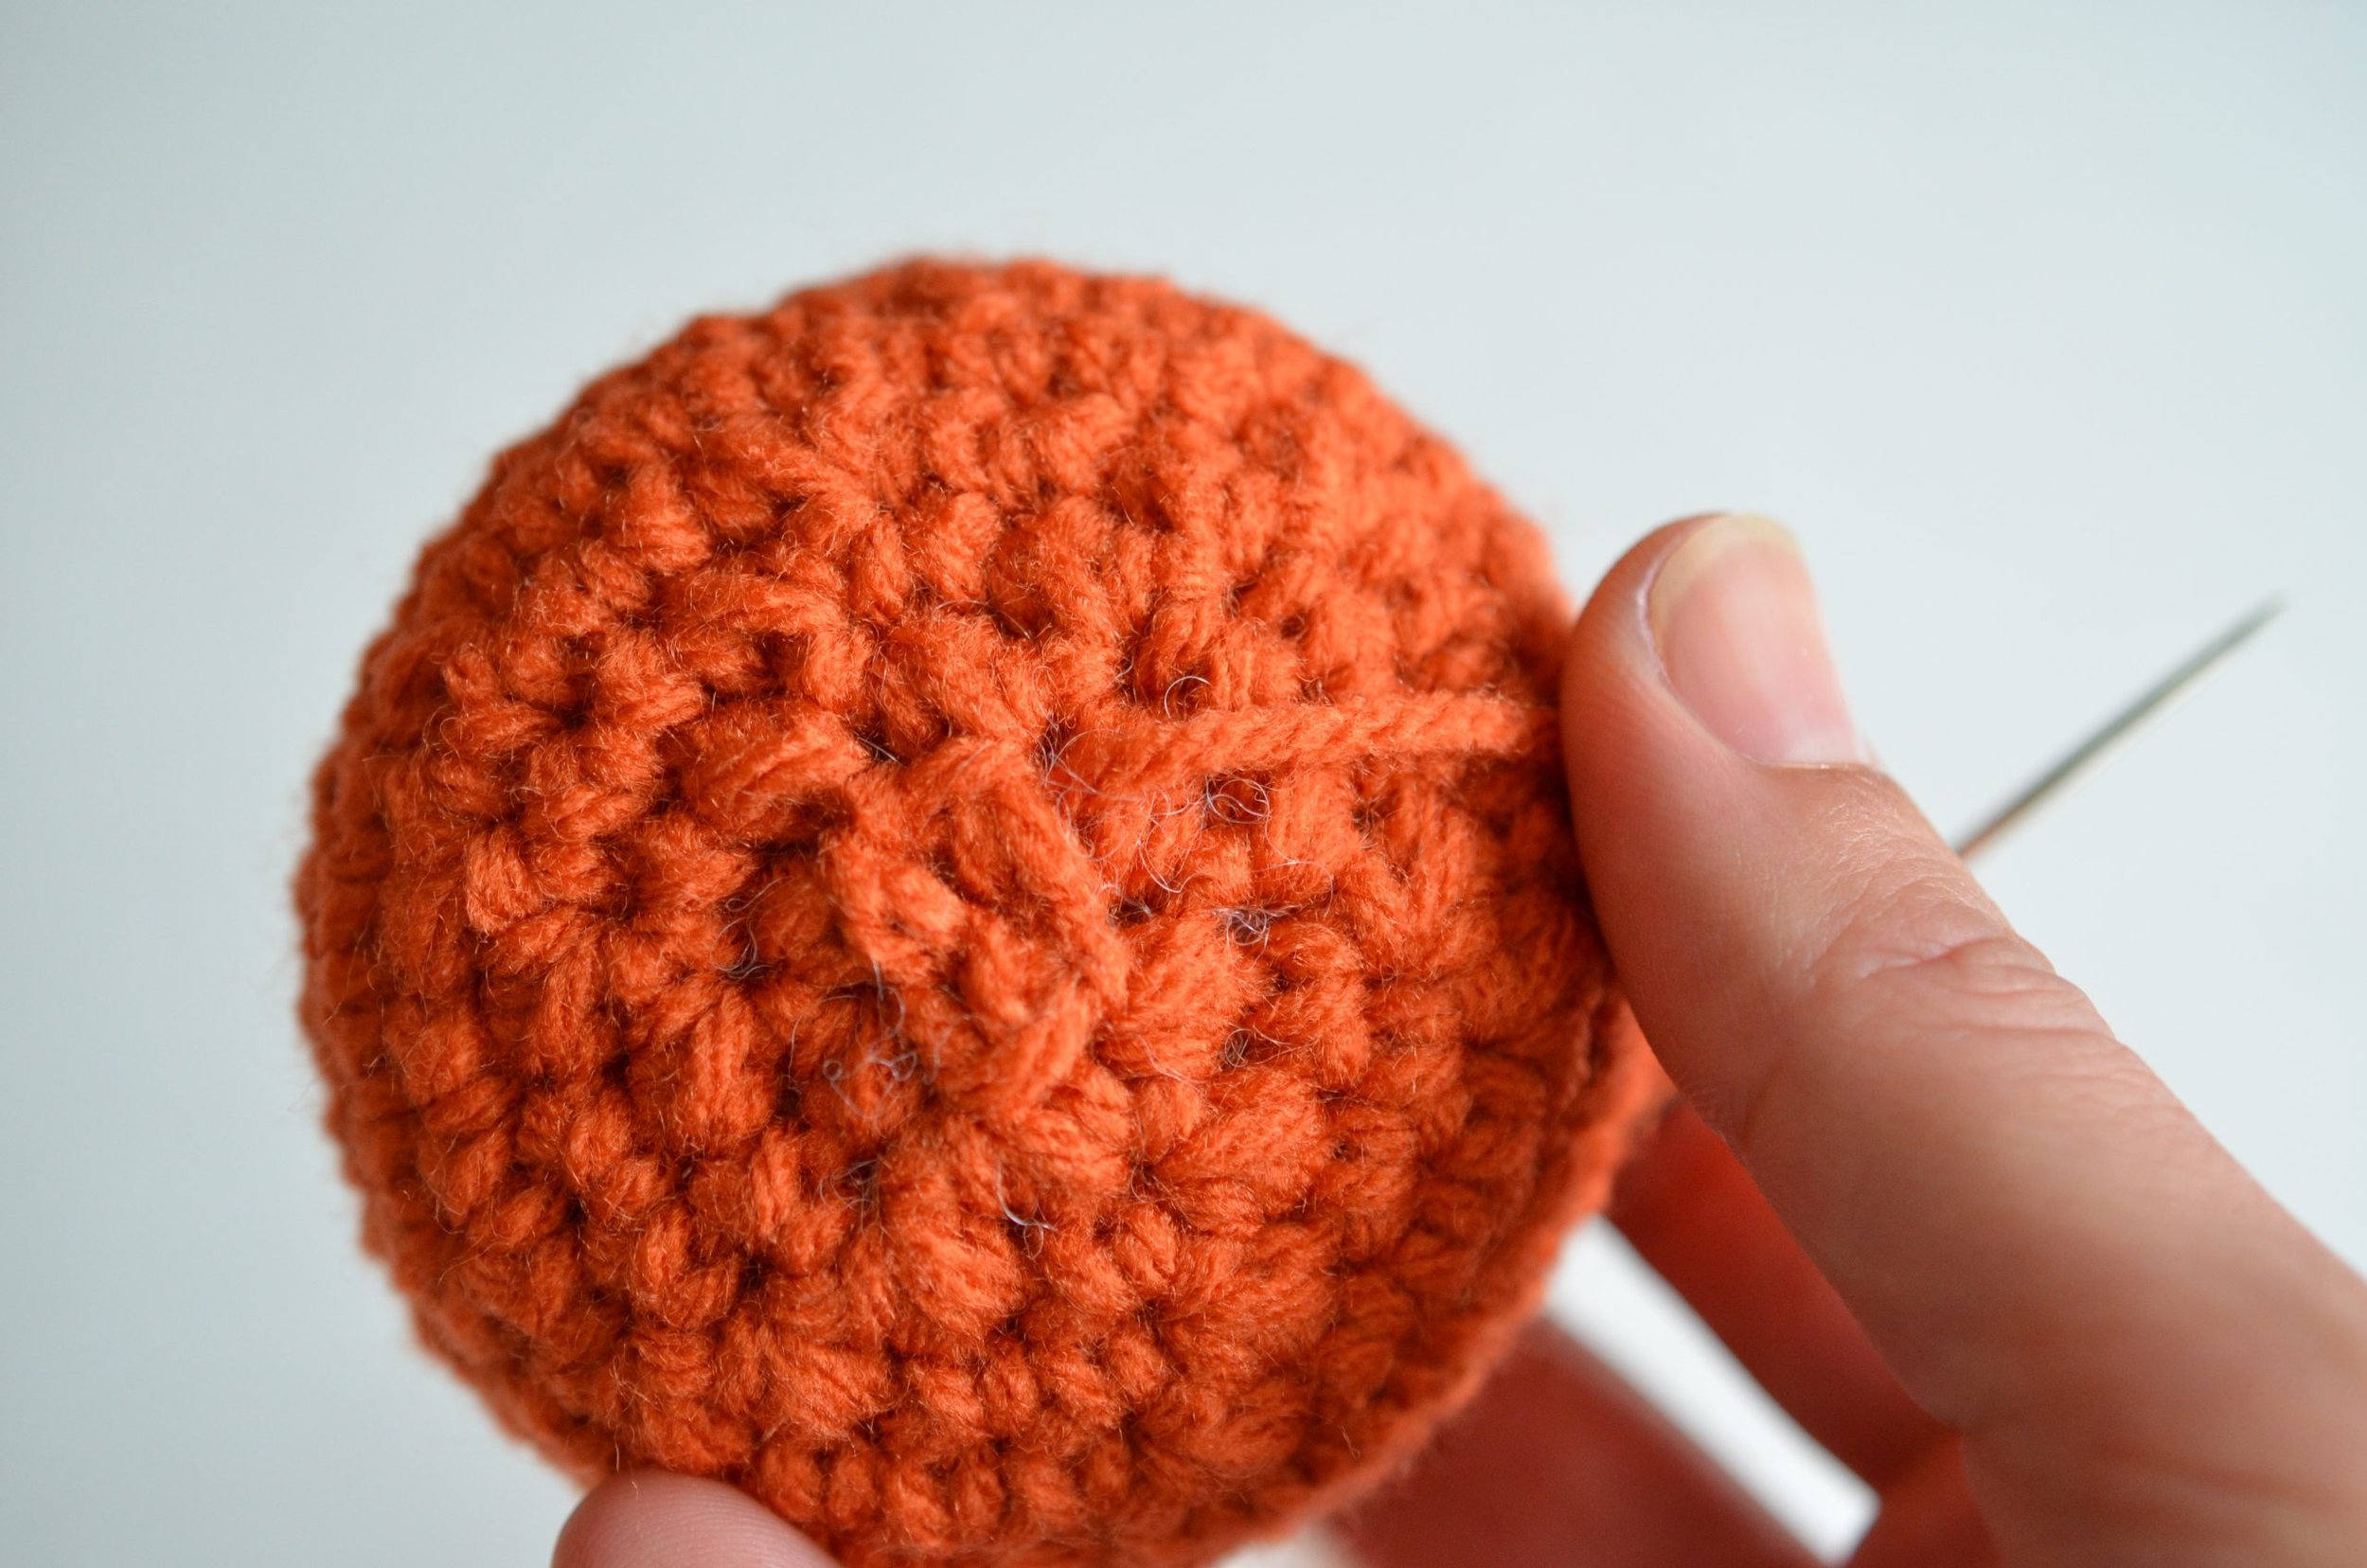
In this photo I'm decreasing 6 times so I'm left with 6 stitches.

That little gap that's left can be closed by threading the tail into a yarn needle and sewing it shut:
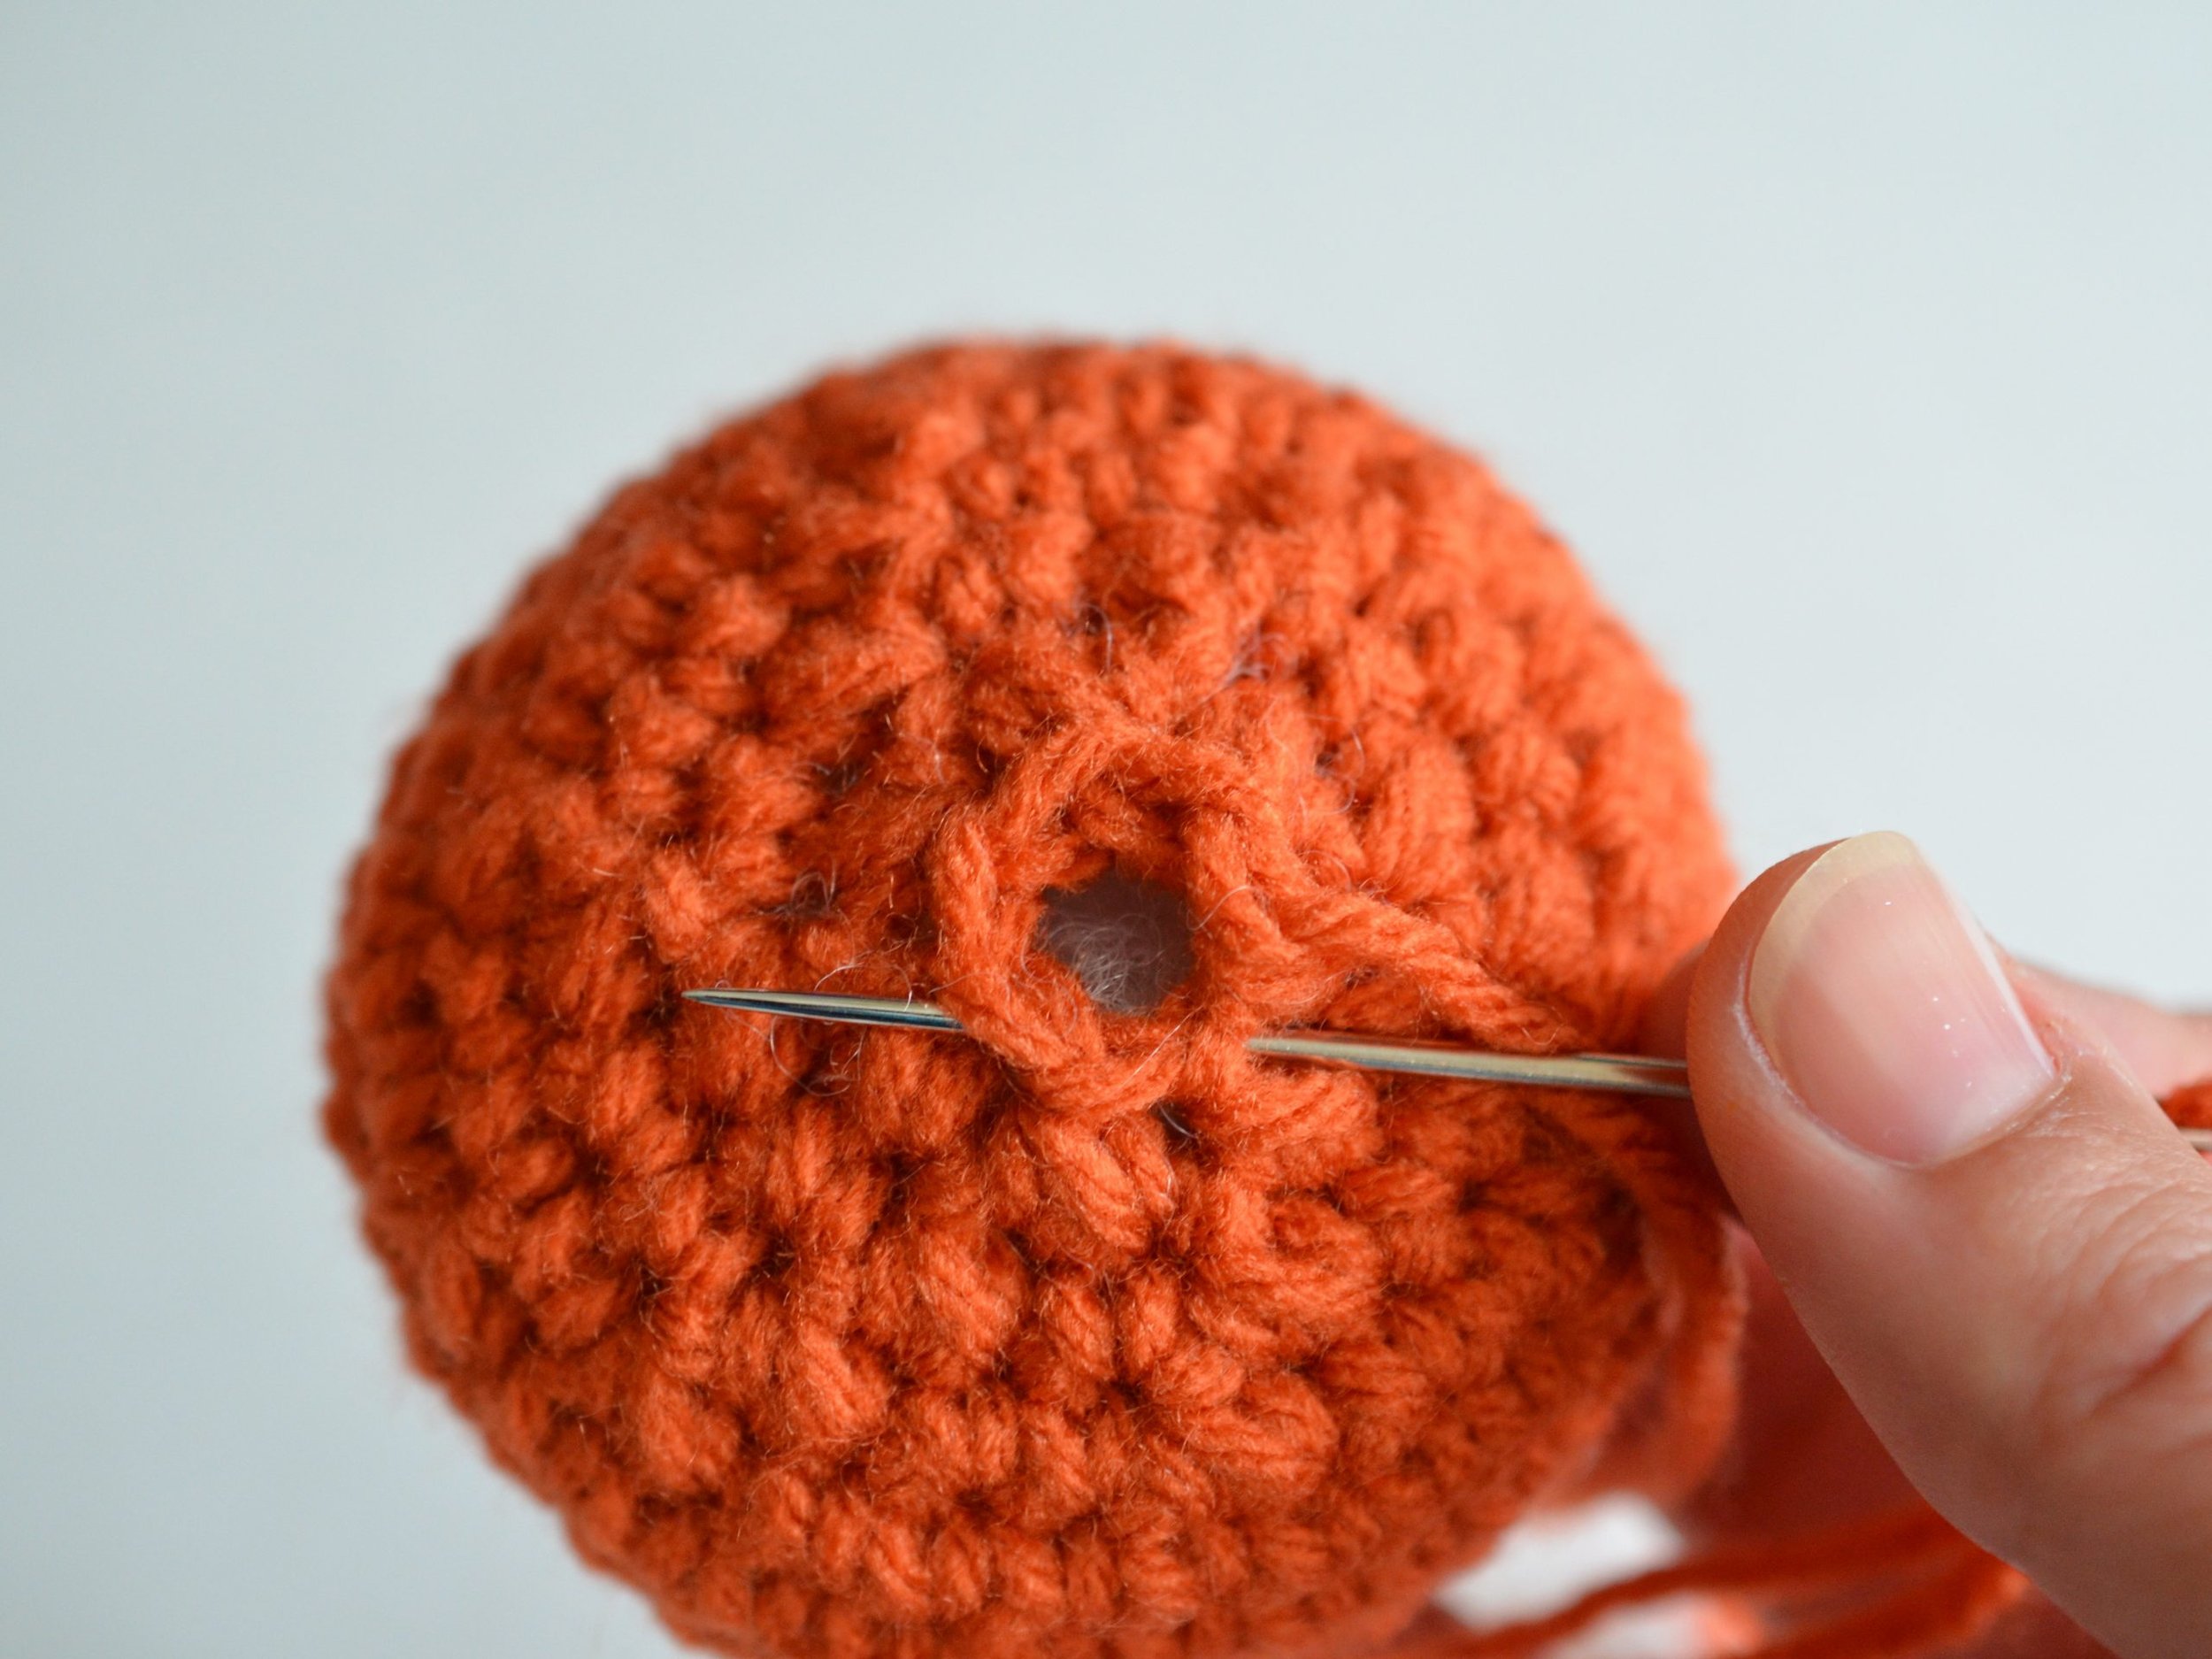


And there you have a round pumpkin shape! This is just the beginning into the world of crafting amigurumi and other fun and unique crochet projects.
I hope this how-to guide has been helpful and inspiring. Be sure to follow me on social media for more tips, tutorials and news, just check out the links at the top of this page!
Looking for more crochet stitch tutorials? Check these out:
How to Make a Slip Knot and Chain
How to Crochet in the Round and Increase
**********
This tutorial is for personal use only. The photos may not be reproduced, distributed or resold, translated, published, altered, shared or posted in any way over the internet or offline.
You may sell finished items made from patterns designed by me as long as it is handmade by you, not mass produced, giving the credit to Pops de Milk / Patricia Castillo as the designer. If you have any questions, you can email me at patricia@popsdemilk.com