
Crochet Donut Pillow Pattern + Video
When I get an idea in my head I just have to go with it until either a) I'm happy with it or b) I toss it and declare it "an idea for someone else." This crochet donut pillow is an idea I am very happy with and I'm so excited to share it with you 😊
This easy crochet donut pillow makes a great statement décor piece for any room. It's squishy and if you use super bulky yarn like Bernat Blanket then you're sure to experience extreme comfort!
The pattern for this donut pillow is great for beginner crocheters who have some experience working in the round.

Donut Pillow
Crochet Pattern
Skill Level
Beginner/Intermediate
Size
Approx. 9-10" diam.
Materials
Donut Base
Super bulky weight (6) yarn such as Bernat Blanket in Almond (A), approx. 120 grams
8.00mm/L-11 crochet hook
Yarn needle
Stuffing, about 100 - 120 grams, like this one on Amazon
Donut Icing
Super bulky weight (6) yarn such as Bernat Baby Blanket in Pink (B), approx. 40 grams, and small amounts of green, blue, red, yellow, and white or your choice of colors for sprinkles
8.00mm/L-11 crochet hook
Yarn needle
Abbreviations (US terms)
sts - stitches
ch - chain
sc - single crochet
inc - increase (2 sc in the same st)
dec - decrease (sc 2 sts together)
sl st - slip stitch
Notes
This donut pillow is made up of two pieces:
The donut base
The icing
The icing is sewn onto the donut base after the sprinkles have been stitched on. This pattern is worked in continuous rounds, do not join or turn at the end of each round. Use a stitch marker to keep track of which round you're on.
There are many variations you can make with this donut pillow crochet pattern like using different colors for the icing and donut base. Experiment and see what you come up with!
The Pattern
Donut Base
With A, ch 24, sl st to form ring. Work in continuous rounds.
Round 1: ch1 (does not count as st) sc in same sp as sl st, sc in each ch around, do not sl st or turn (24 sts)
Round 2: sc in each st around (24 sts)
Round 3: complete the following [inc, sc in next 3 sts] x 6 (30 sts)
Round 4: complete the following [inc, sc in next 4 sts] x 6 (36 sts)
Round 5: complete the following [inc, sc in next 5 sts] x 6 (42 sts)
Round 6: complete the following [inc, sc in next 6 sts] x 6 (48 sts)
Round 7: complete the following [inc, sc in next 7 sts] x 6 (54 sts)
Round 8: complete the following [inc, sc in next 8 sts] x 6 (60 sts)
Round 9: complete the following [inc, sc in next 9 sts] x 6 (66 sts)
Rounds 10-11: sc in each st around (66 sts)
Round 12: complete the following [dec, sc in next 9 sts] x 6 (60 sts)
Round 13: complete the following [dec, sc in next 8 sts] x 6 (54 sts)
Round 14: complete the following [dec, sc in next 7 sts] x 6 (48 sts)
Round 15: complete the following [dec, sc in next 6 sts] x 6 (42 sts)
Round 16: complete the following [dec, sc in next 5 sts] x 6 (36 sts)
Round 17: complete the following [dec, sc in next 4 sts] x 6 (30 sts)
Round 18: complete the following [dec, sc in next 3 sts] x 6 (24 sts)
Round 19: sc in each st around (24 sts)
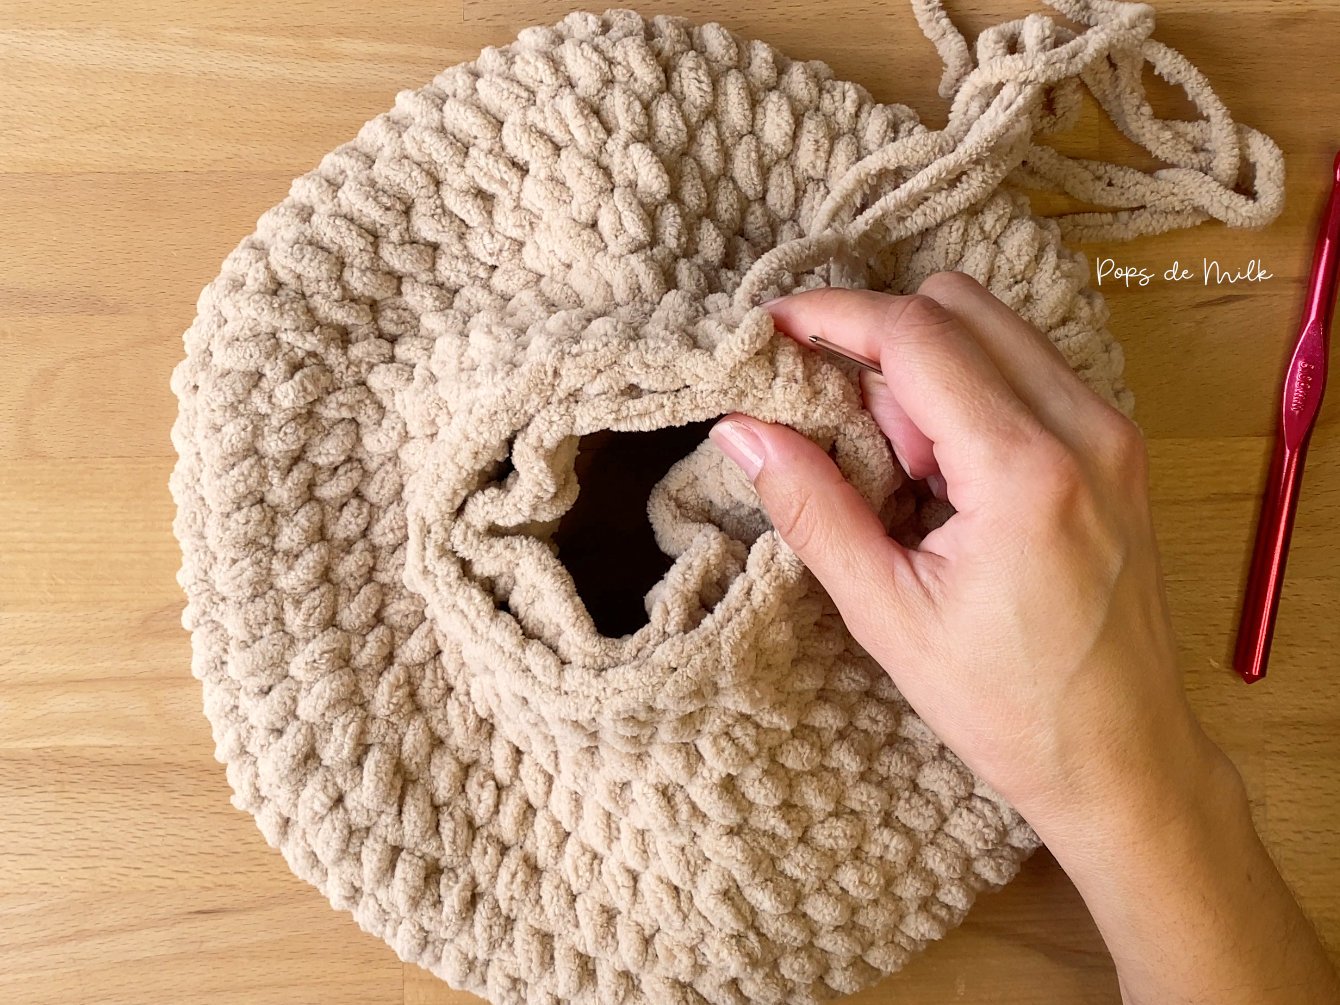
Fasten off and leave a tail for sewing. Align the first and last rounds together and with a yarn needle, sew around both layers making sure to leave a gap for stuffing. Add the stuffing, smoothing out any bumps and lumps as you go and when your donut feels firm but squishy it's time to finish sewing the opening closed.
Donut Icing
With B, leave a long starting tail (this is to sew into the donut hole later), ch 24, sl st to form ring. Work in continuous rounds.
Round 1: ch1 (does not count as st) complete the following working first st into the same sp as sl st [inc, sc in next 3 sts] x 6 (30 sts)
Round 2: complete the following [inc, sc in next 4 sts] x 6 (36 sts)
Round 3: complete the following [inc, sc in next 5 sts] x 6 (42 sts)
Round 4: complete the following [inc, sc in next 6 sts] x 6 (48 sts)
Round 5: complete the following [inc, sc in next 7 sts] x 6 (54 sts)
Fasten off and leave a tail for sewing.

Assembly
Use small amounts of yarn and a yarn needle to sew sprinkles onto the donut icing. Once you're happy with your sprinkles you can sew the icing onto the donut.


If you don't have multiple colors of the same super bulky yarn you can make your sprinkles with some worsted weight yarn and a smaller hook. Here's how:
With size 4.00mm hook and Bernat Super Value yarn in any color, ch 5, sc in the 2nd ch from hook and remaining chains. Fasten off leaving a long tail for sewing onto the icing.


If you make this donut pillow crochet pattern I'd love to see your creation, just tag me on Instagram @popsdemilk_crochet and use the hashtag #popsdemilk
Looking for more food related crochet projects? Then you might like these:
Sandwich coasters crochet pattern
**********
This pattern is for personal use only. The pattern and its photos may not be reproduced, distributed or resold, translated, published, altered, shared or posted in any way over the internet or offline.
You may sell finished items made from this pattern as long as it is handmade by you, not mass produced, giving the credit to Pops de Milk / Patricia Castillo as the designer. If you have any questions, you can email me at patricia@popsdemilk.com
This post contains affiliate links.